


Turning Our House Into A Home: Part 2 - Creative Kitchen
/
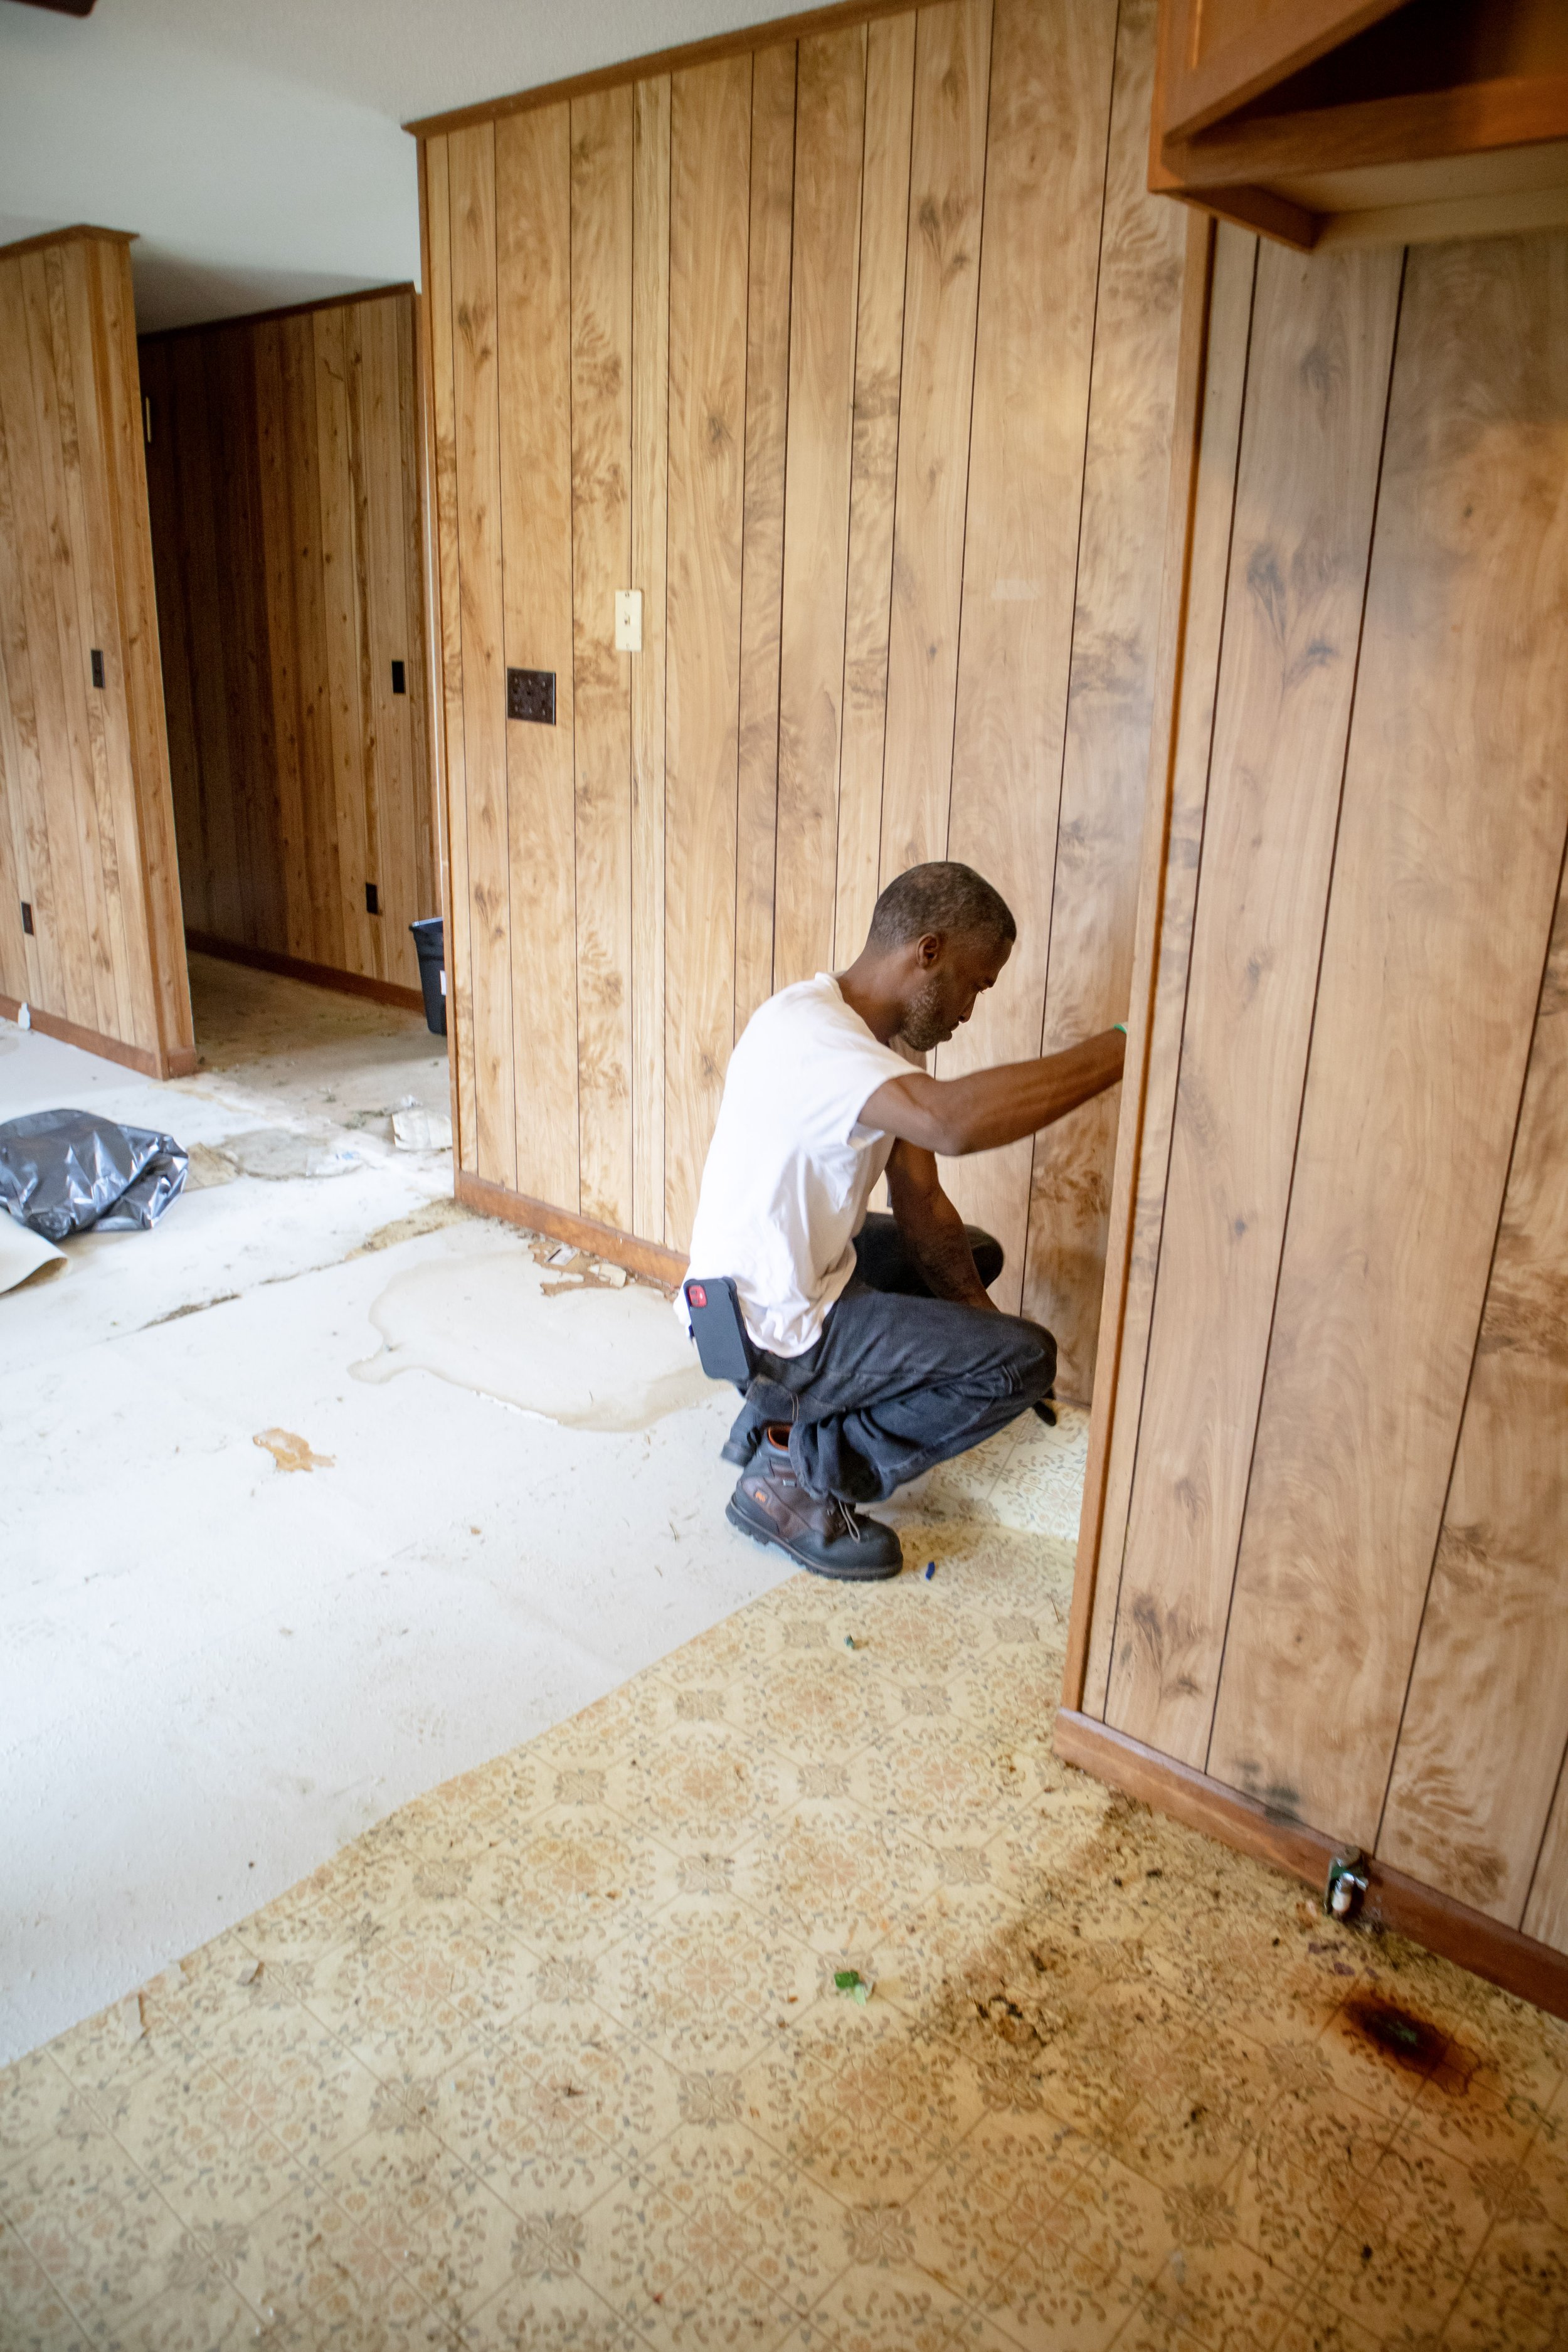
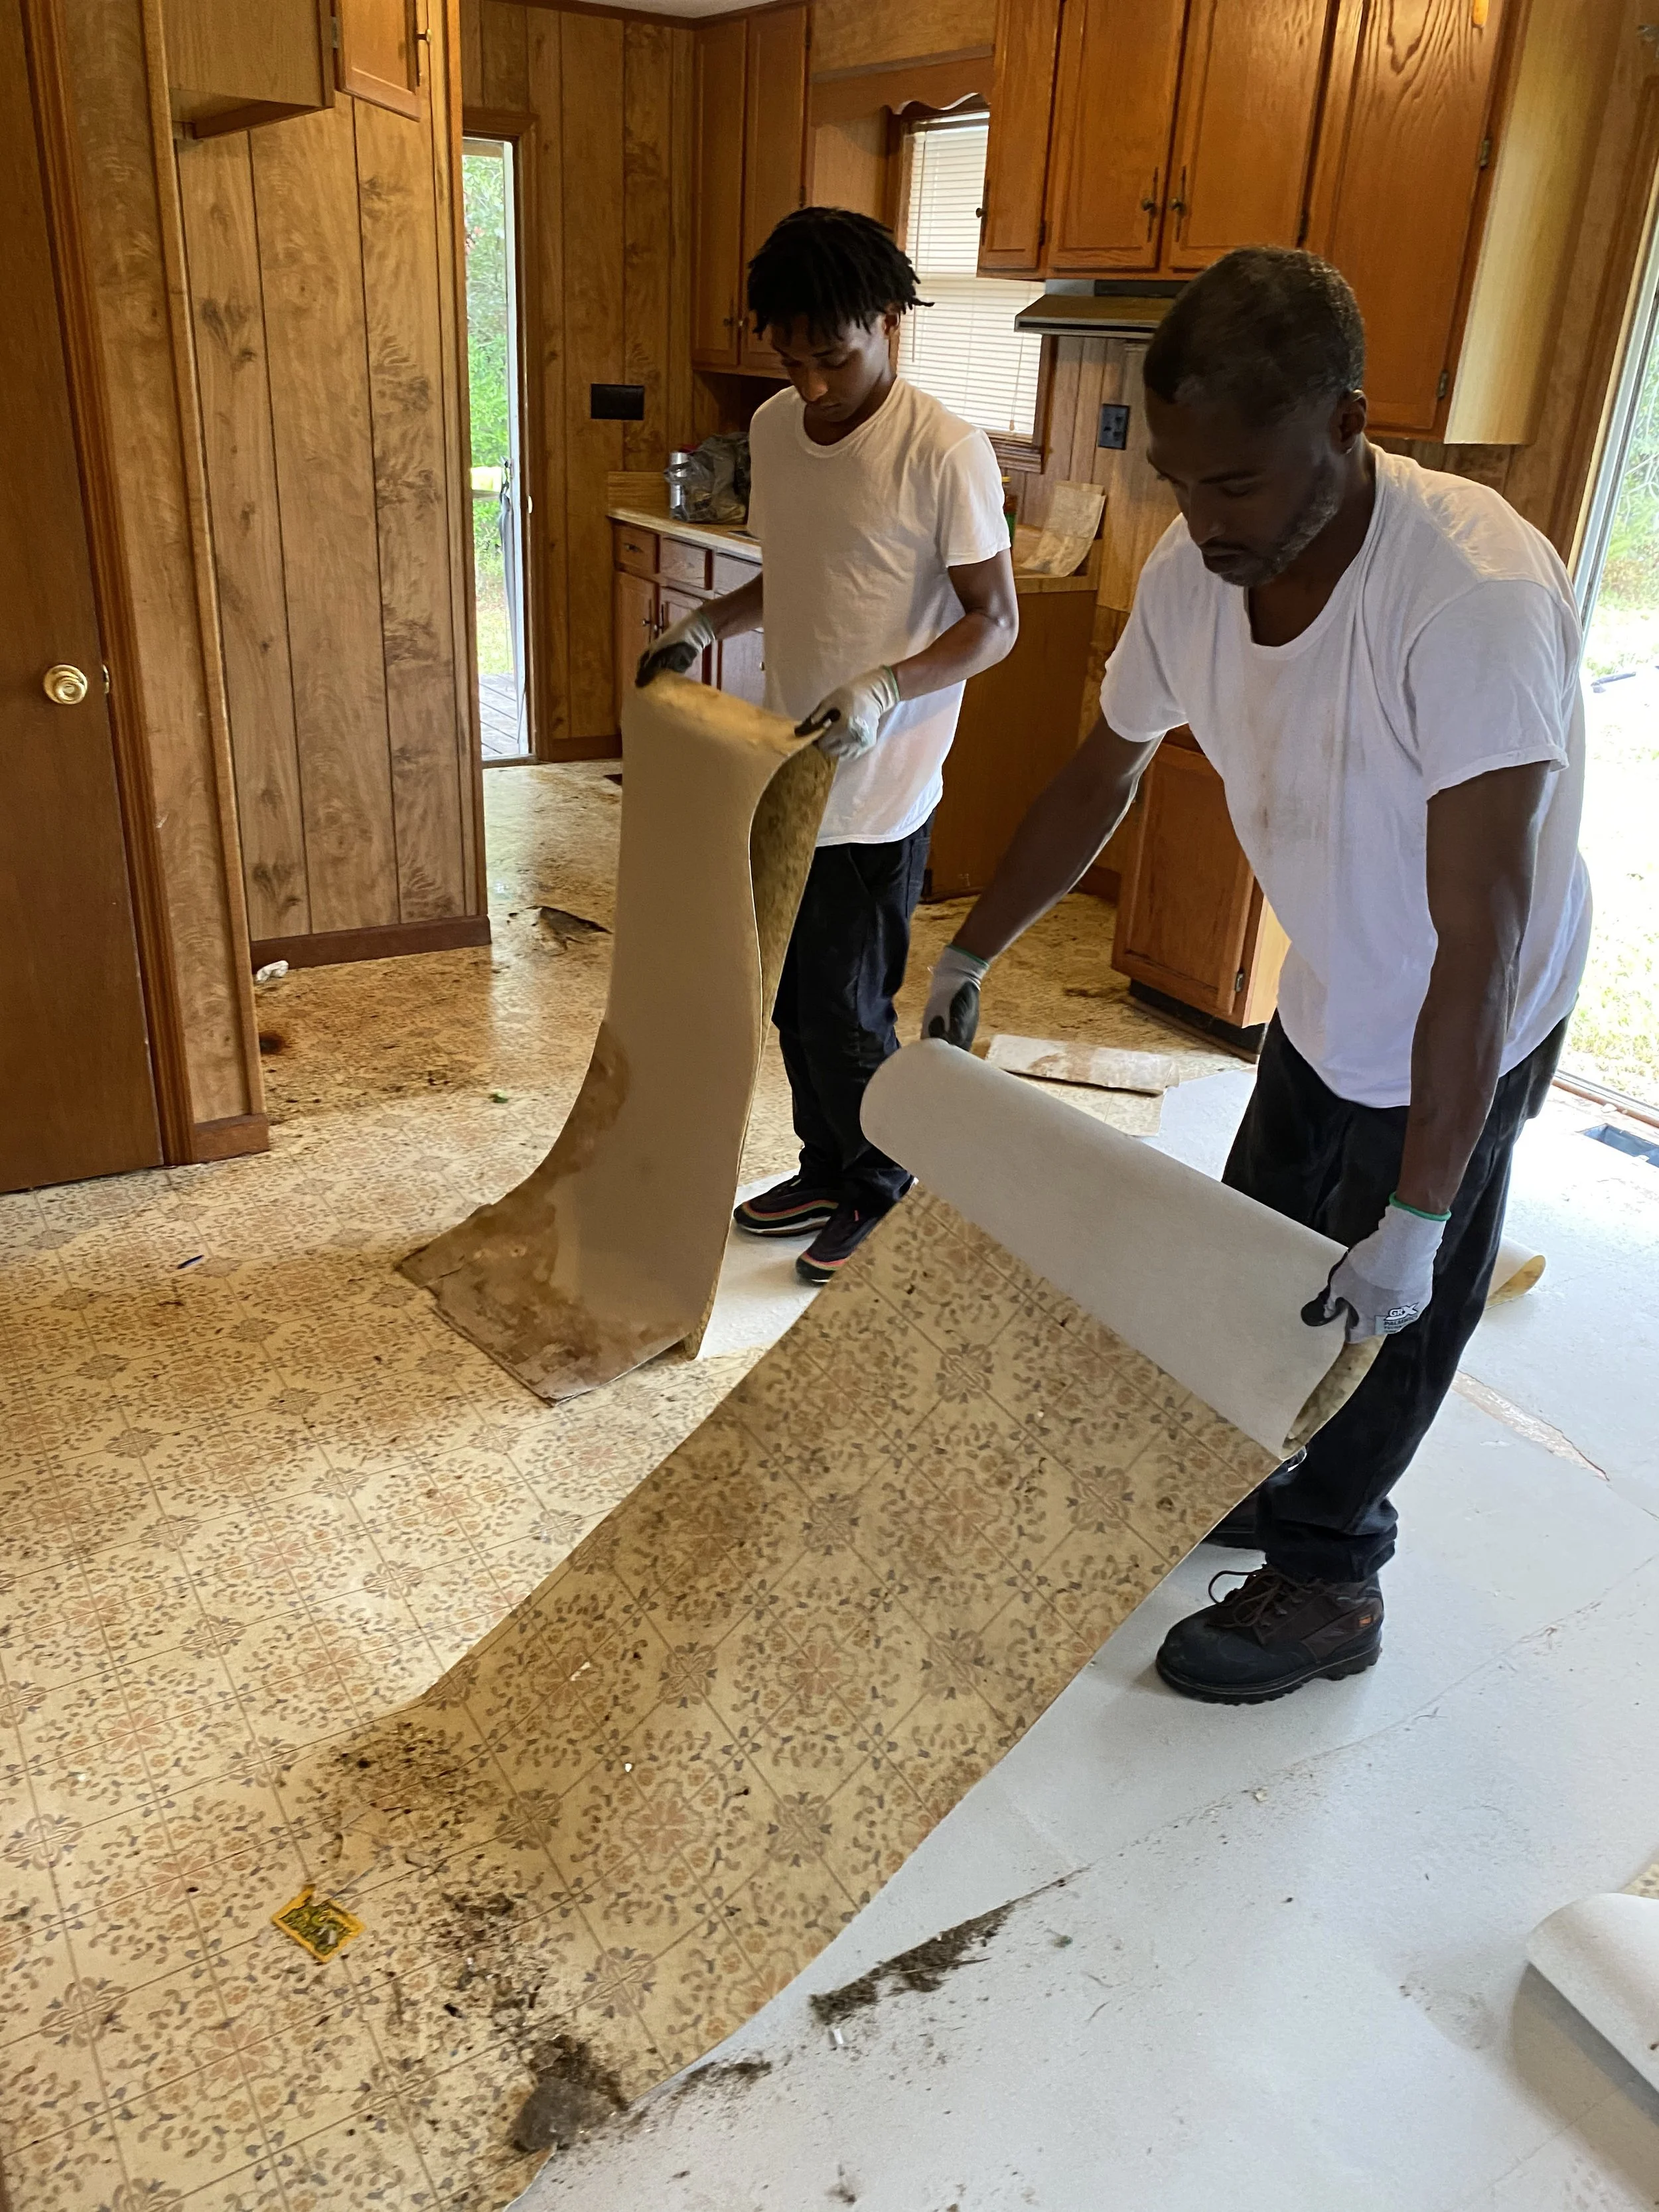
The kitchen is the heart of my home, but it hasn’t been functioning as I need it to. For the last year, I’ve been trying to figure out how to make it work. I reached out to Brittanie of DownHomeBliss for guidance, and we devised a plan! If you’re new here, we’re a large blended family, and there are ALWAYS kids or a dog around. We started remodeling an old home in 2020, and it’s still a work in progress. We must make our current space work until we’re ready to expand.
Our kitchen has a lot of length with limited width and includes a dining room area. Creating separation has been a big deal for me. The room quickly feels like one ample space, and no one knows how to use it properly. The plan was to split the room in 3 ways; kitchen, flex/creative area, and dining room.
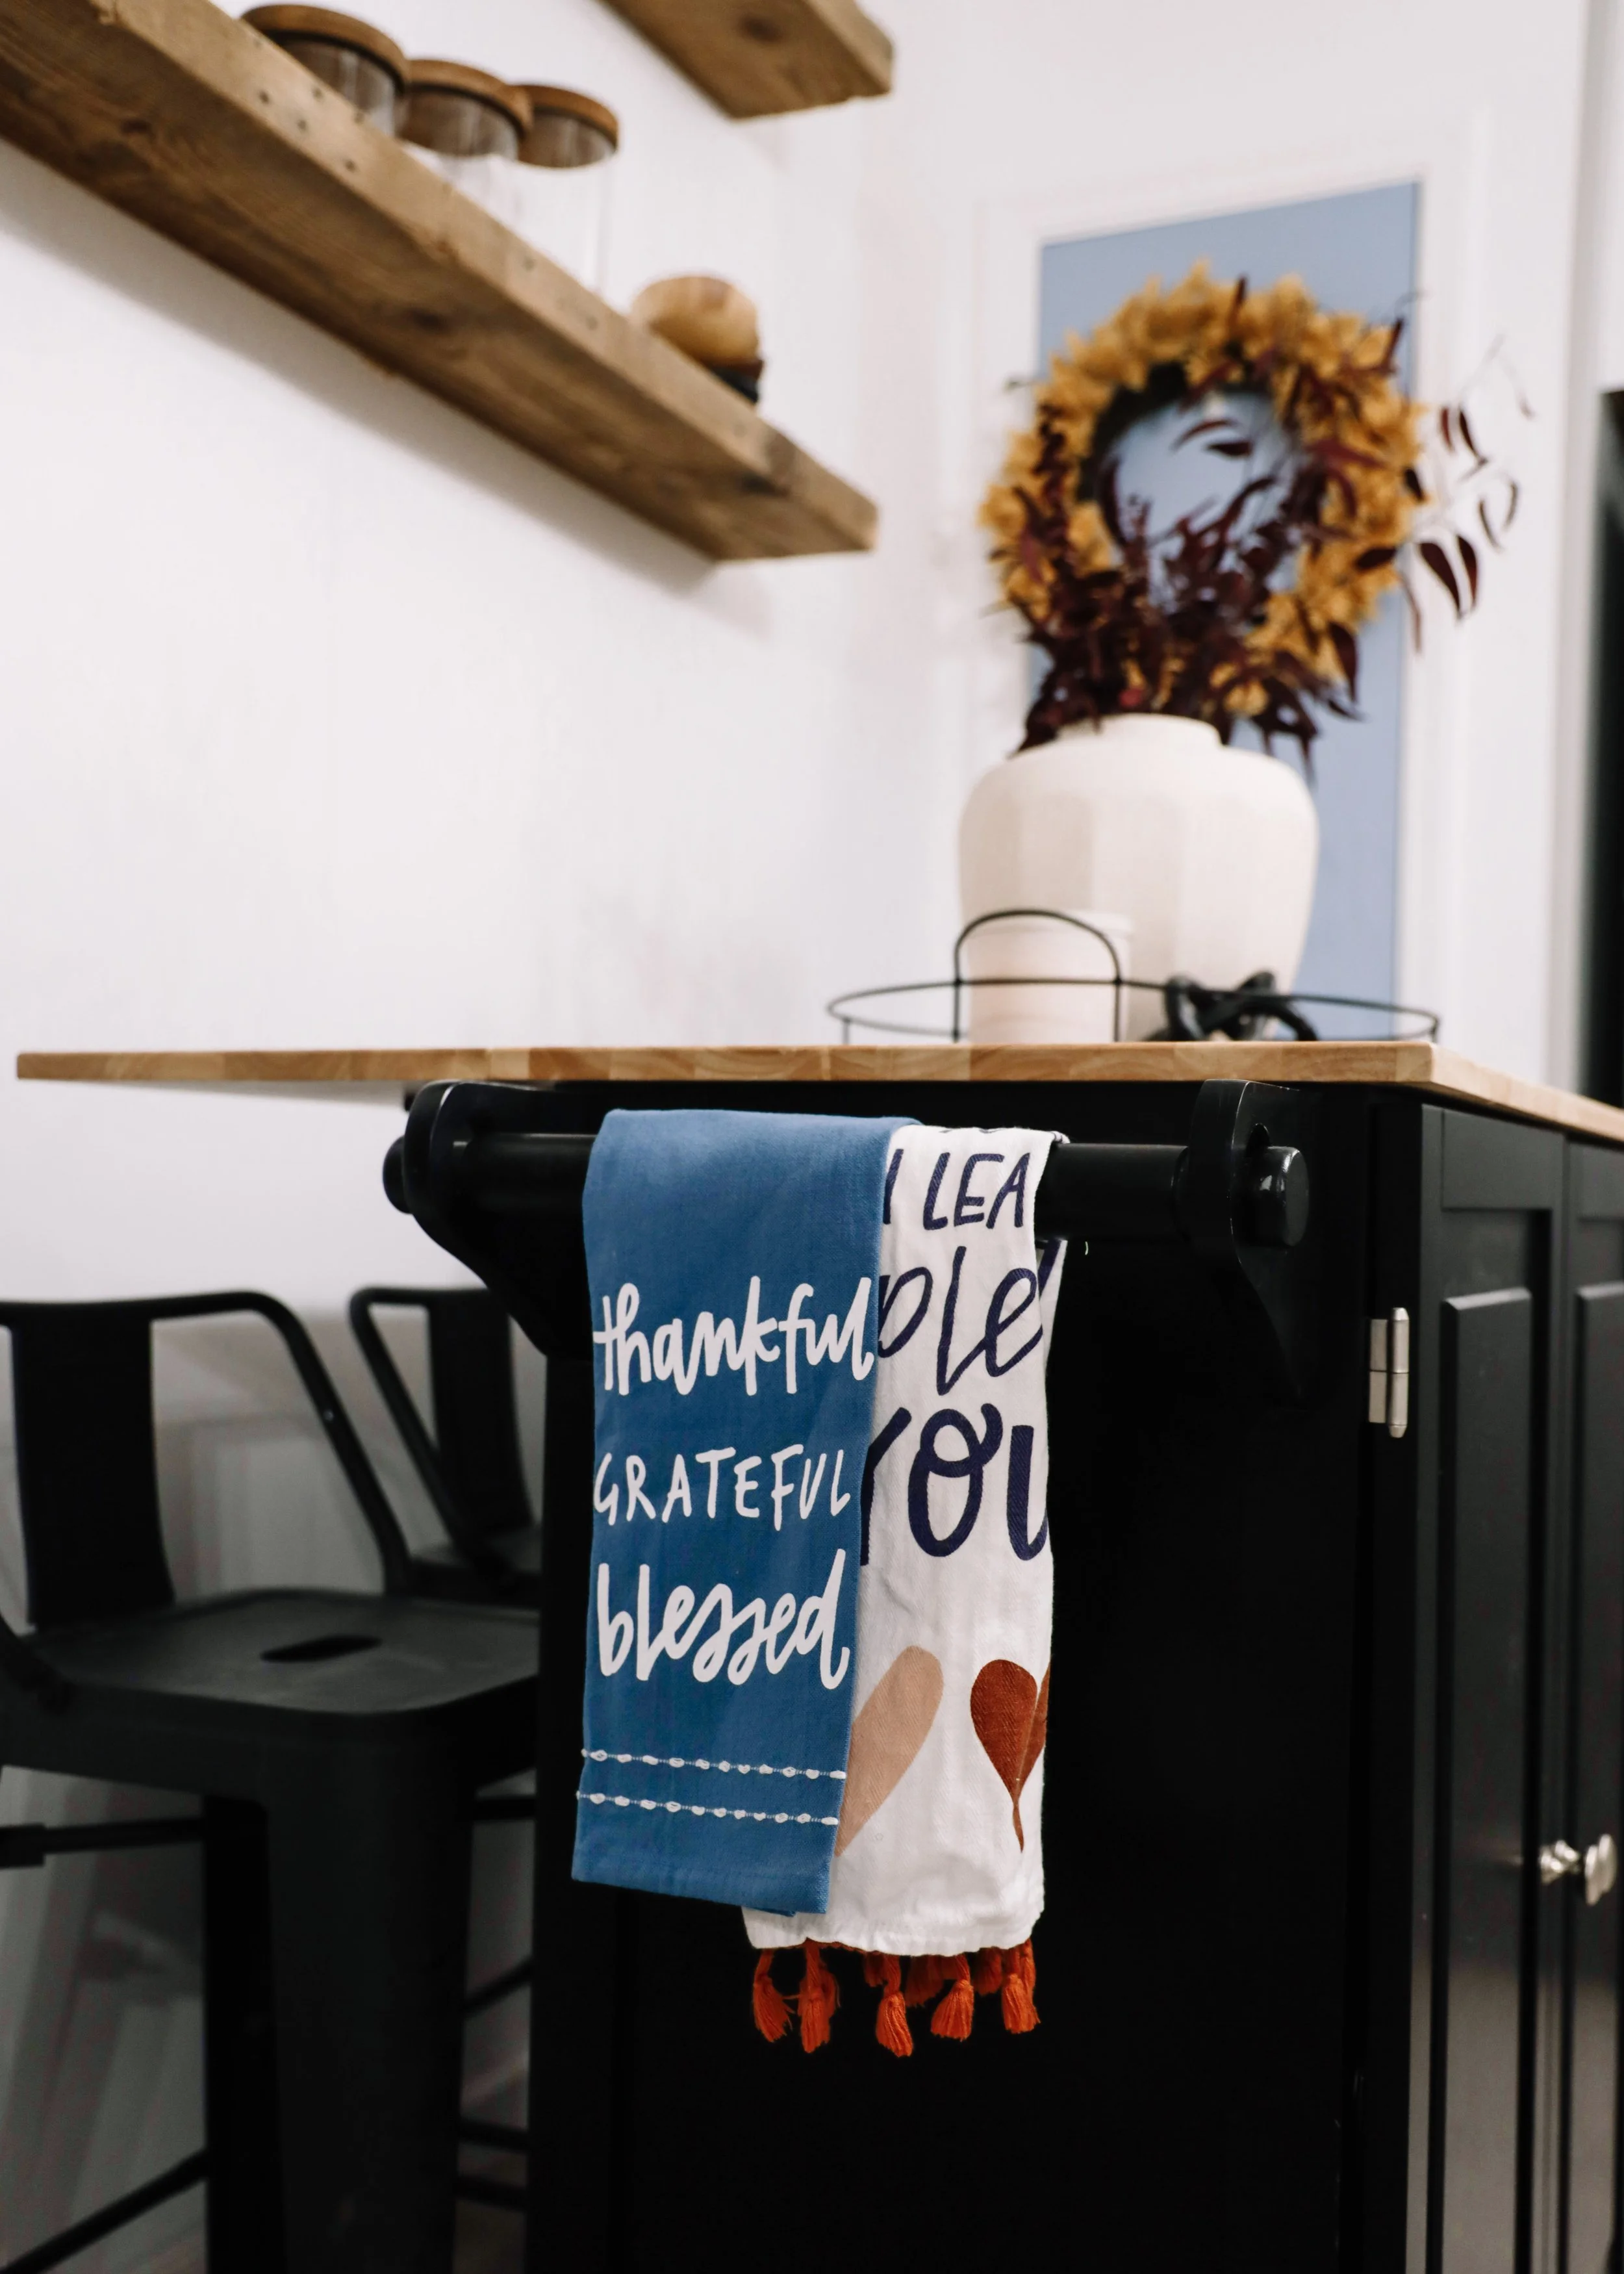
I have dubbed this project the creative kitchen space. It’s a space that I can use for work, meal prep, and occasionally eating. I have always wanted a kitchen island, but due to our limited space and layout, I can’t have one that is usually in the center of the kitchen. Instead, I decided to keep our current kitchen cart that doubles as an island. At the start of this project, we had previously painted the Modernist Gray, and I thought I loved it, but the way I wanted to use that space, it felt closed in.
Getting Started
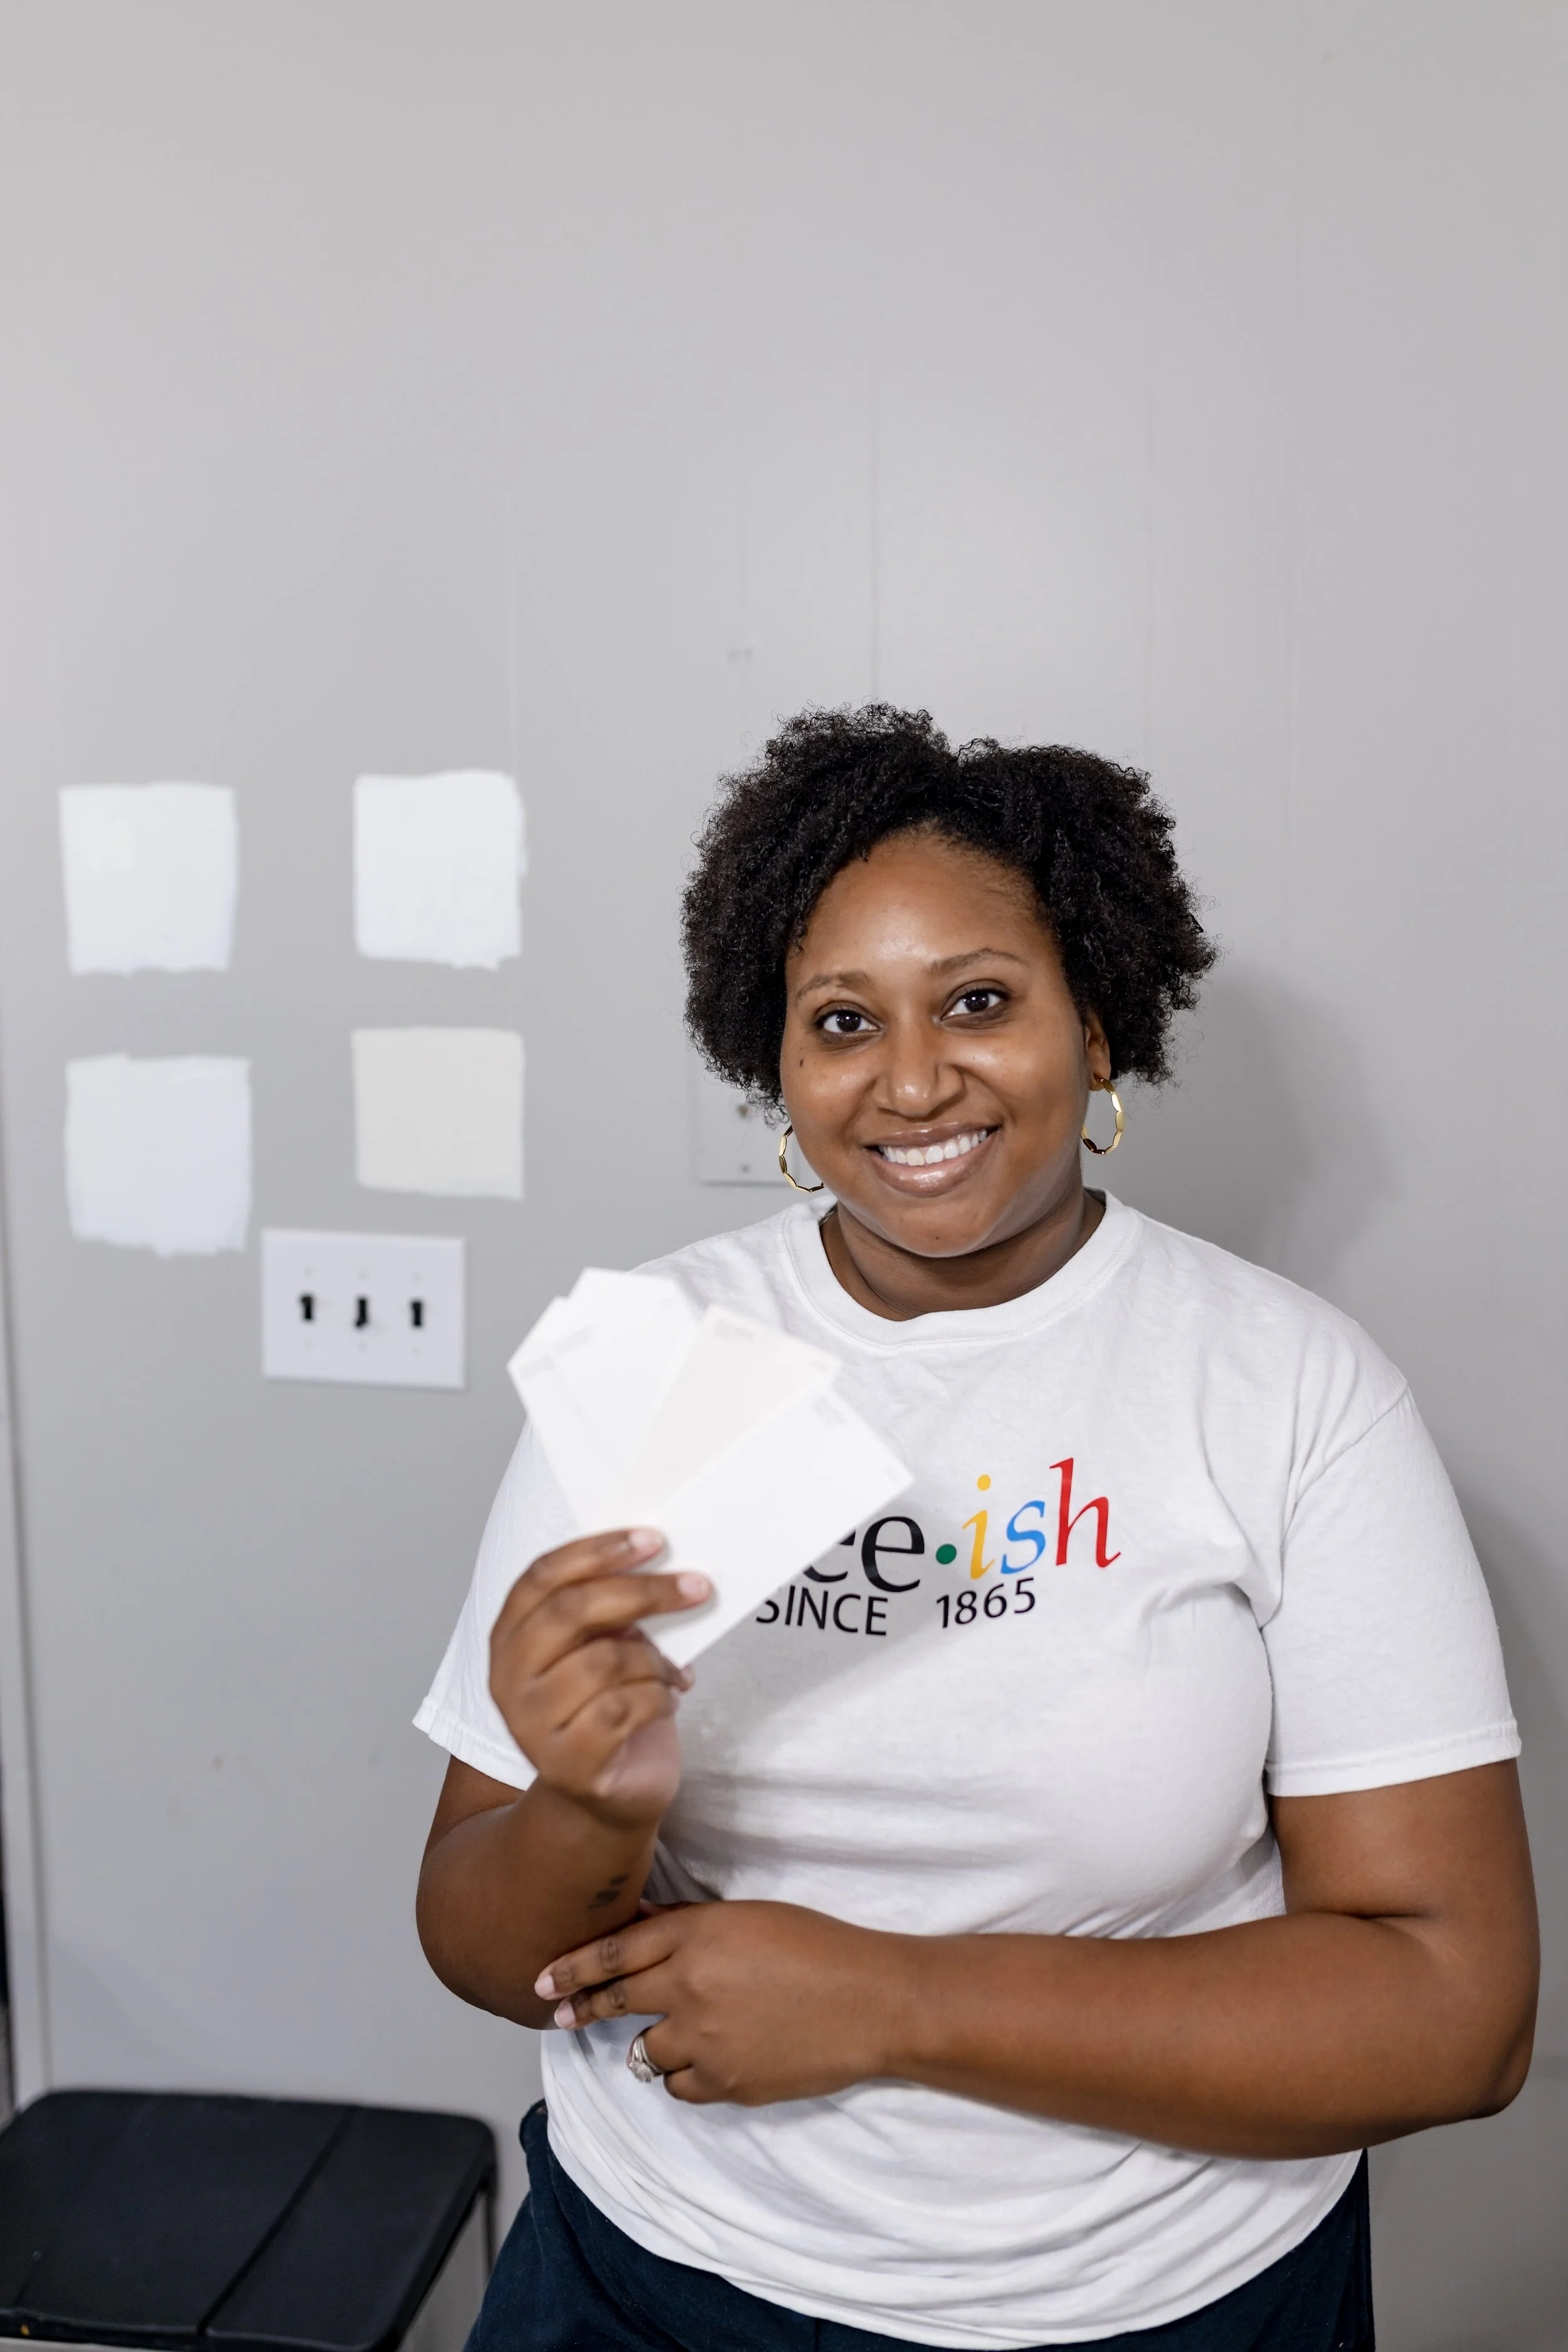
woman with paint swatches
Creating a budget and having an inspiration board was vital in making this project come to life. I knew what I was willing to spend and had an idea of what I wanted, but I was also open to inspiration. Brittanie offered some great suggestions and was very patient as I figured out exactly what I wanted. She’s why we have a colored pantry door - I know I would have NEVER thought to do that, but we LOVE it!
Check out my Pinterest board for this makeover.
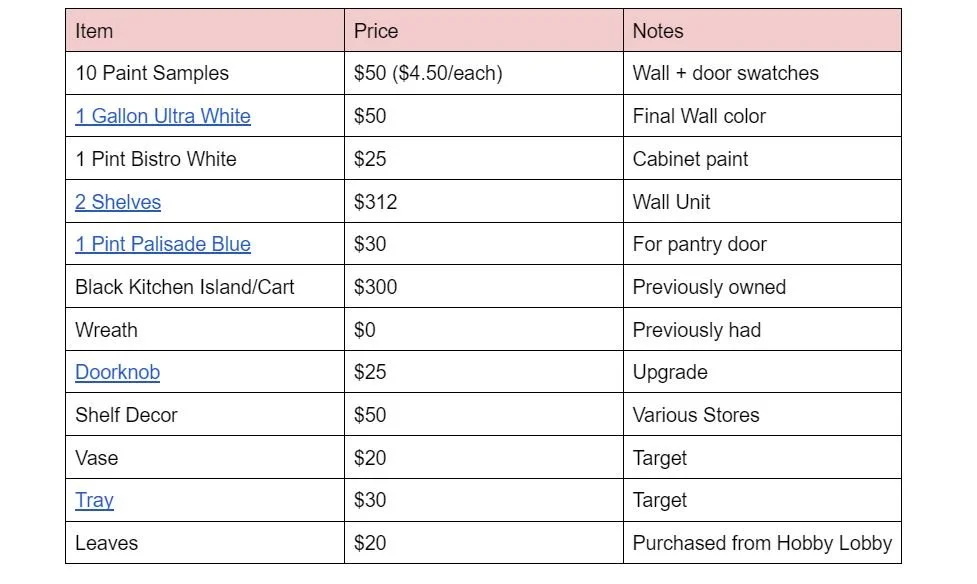
Budget: $1000
Timeline: 30 days
Results - We came in under budget, but it took longer than 30 days due to choosing paint colors, timing, etc. Total $622
Project Budget Breakdown
The Process
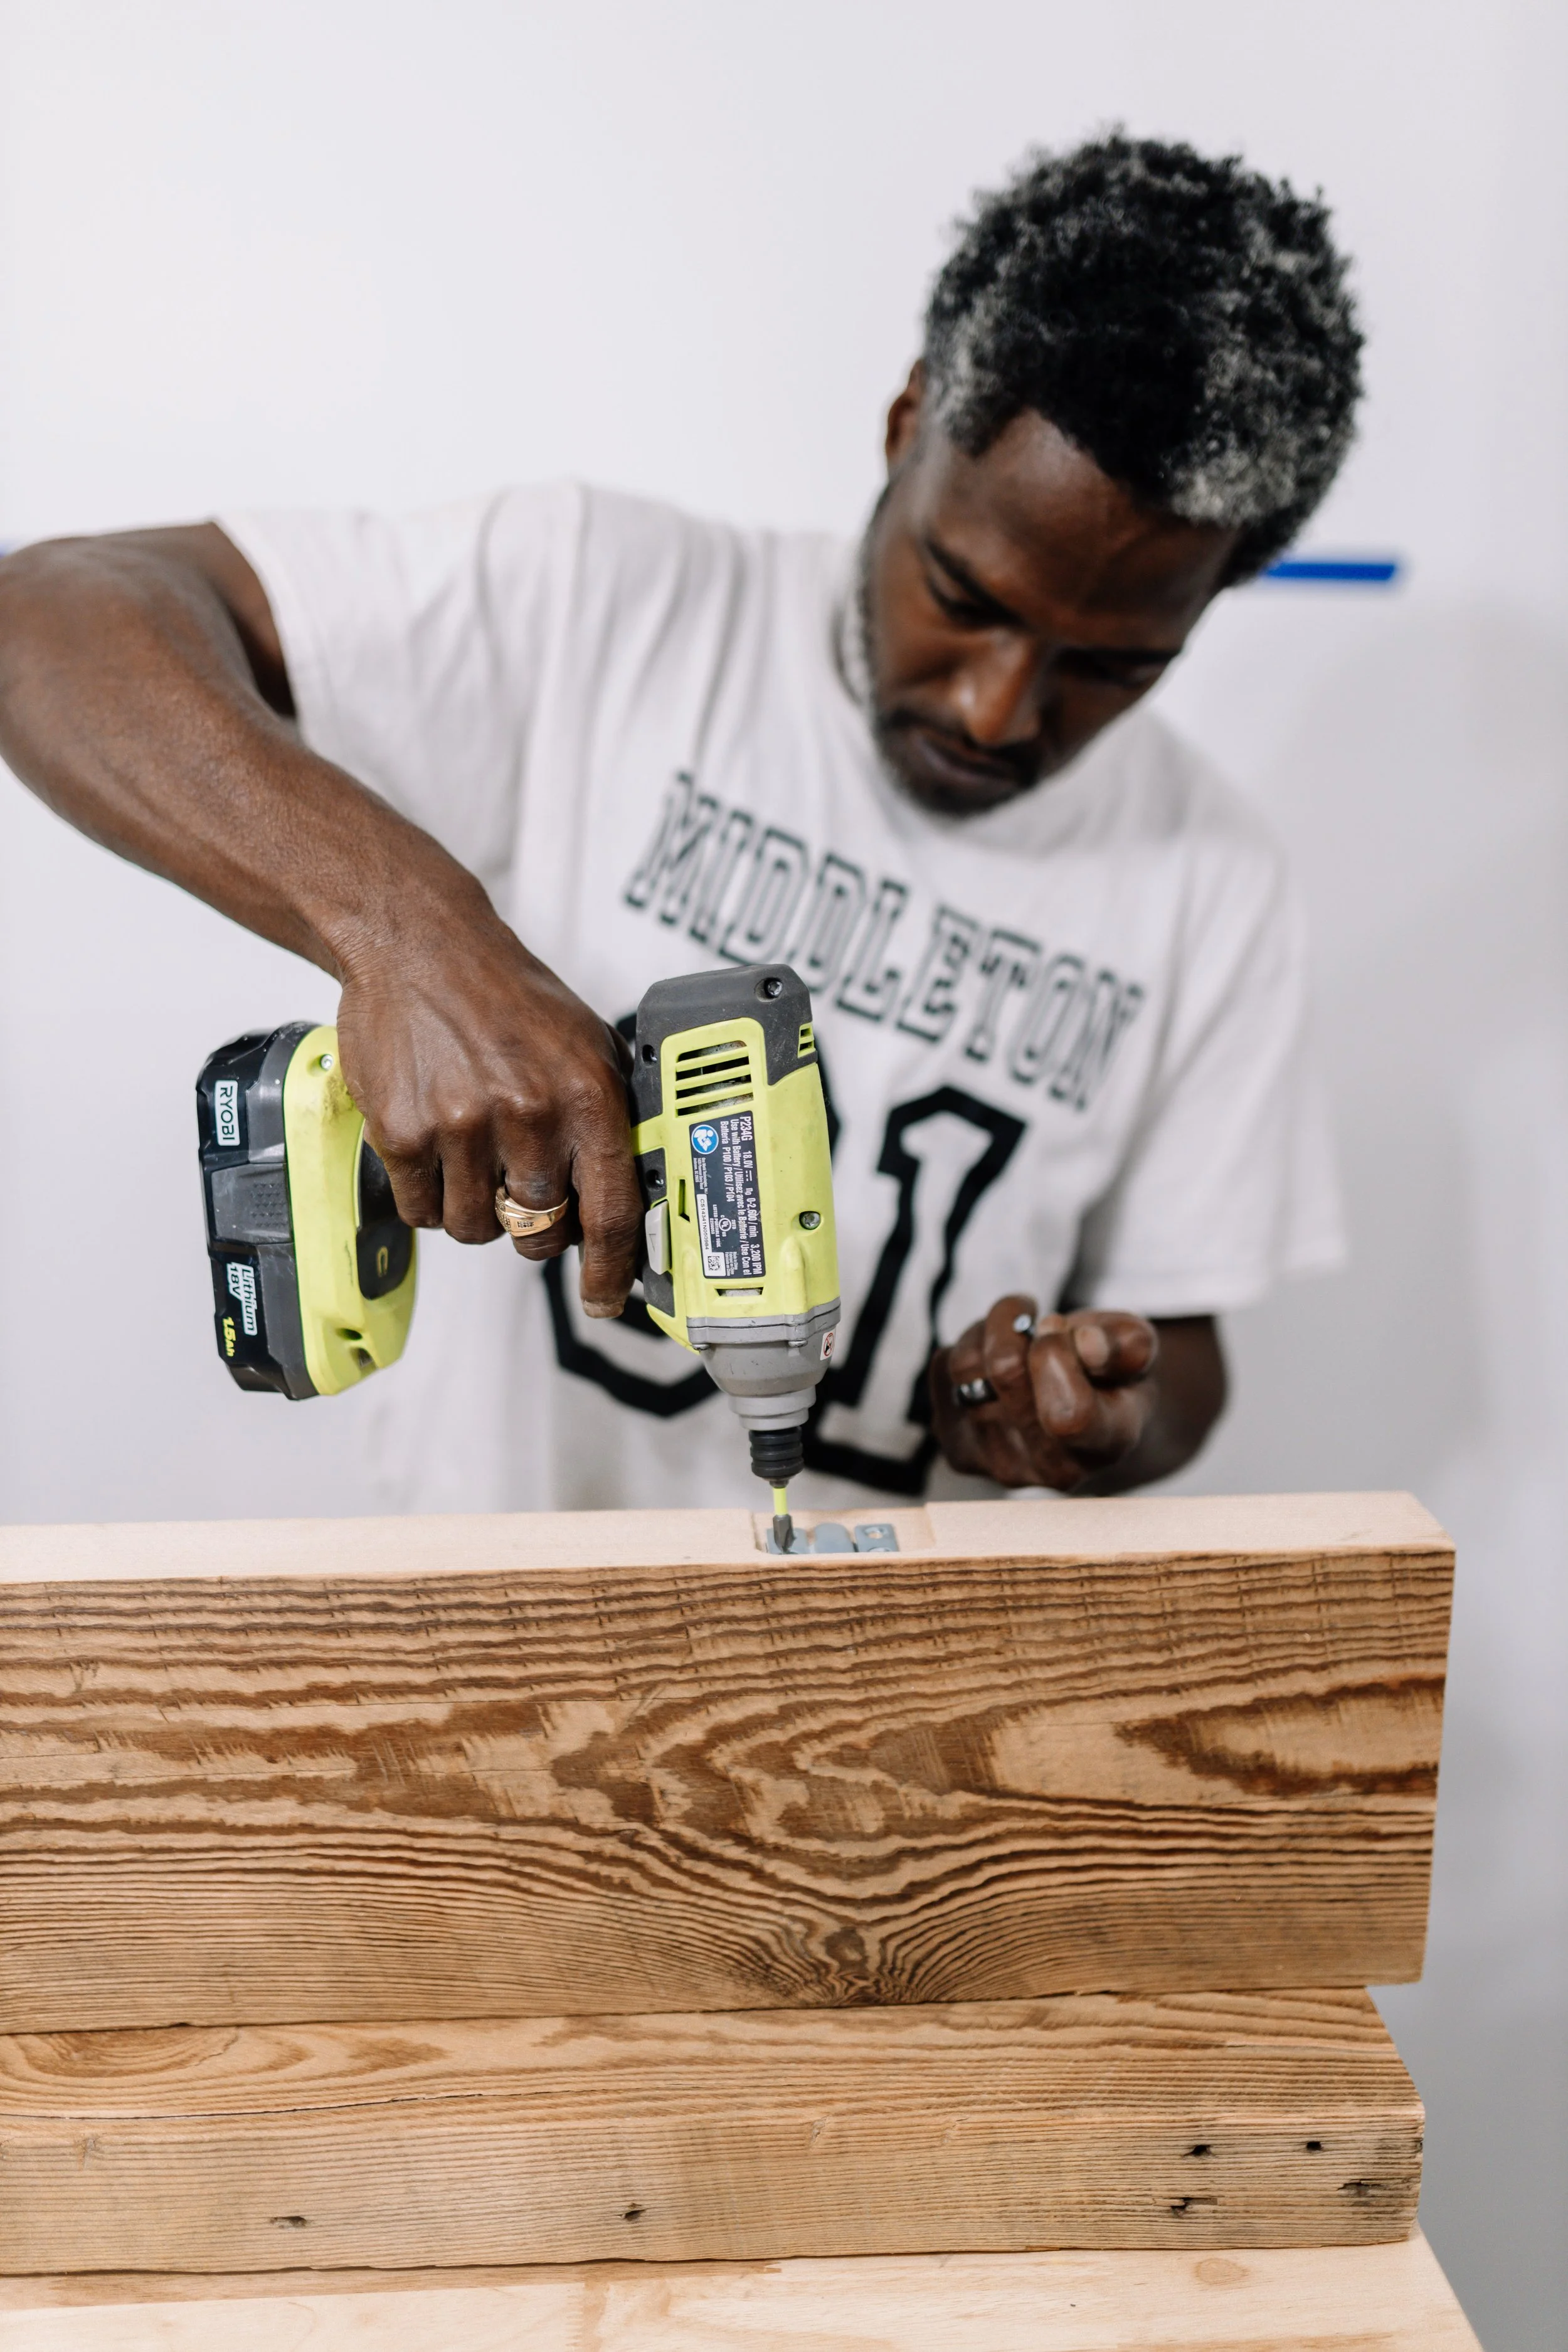
Settling on a design plan and estimating cost was the first step in getting this project started. I knew shelving was high on my list and was willing to invest in quality shelving. I found these shelves at Wayfair, and they are great, we did have a little trouble with getting them aligned, but after a few minor adjustments, it worked out well.
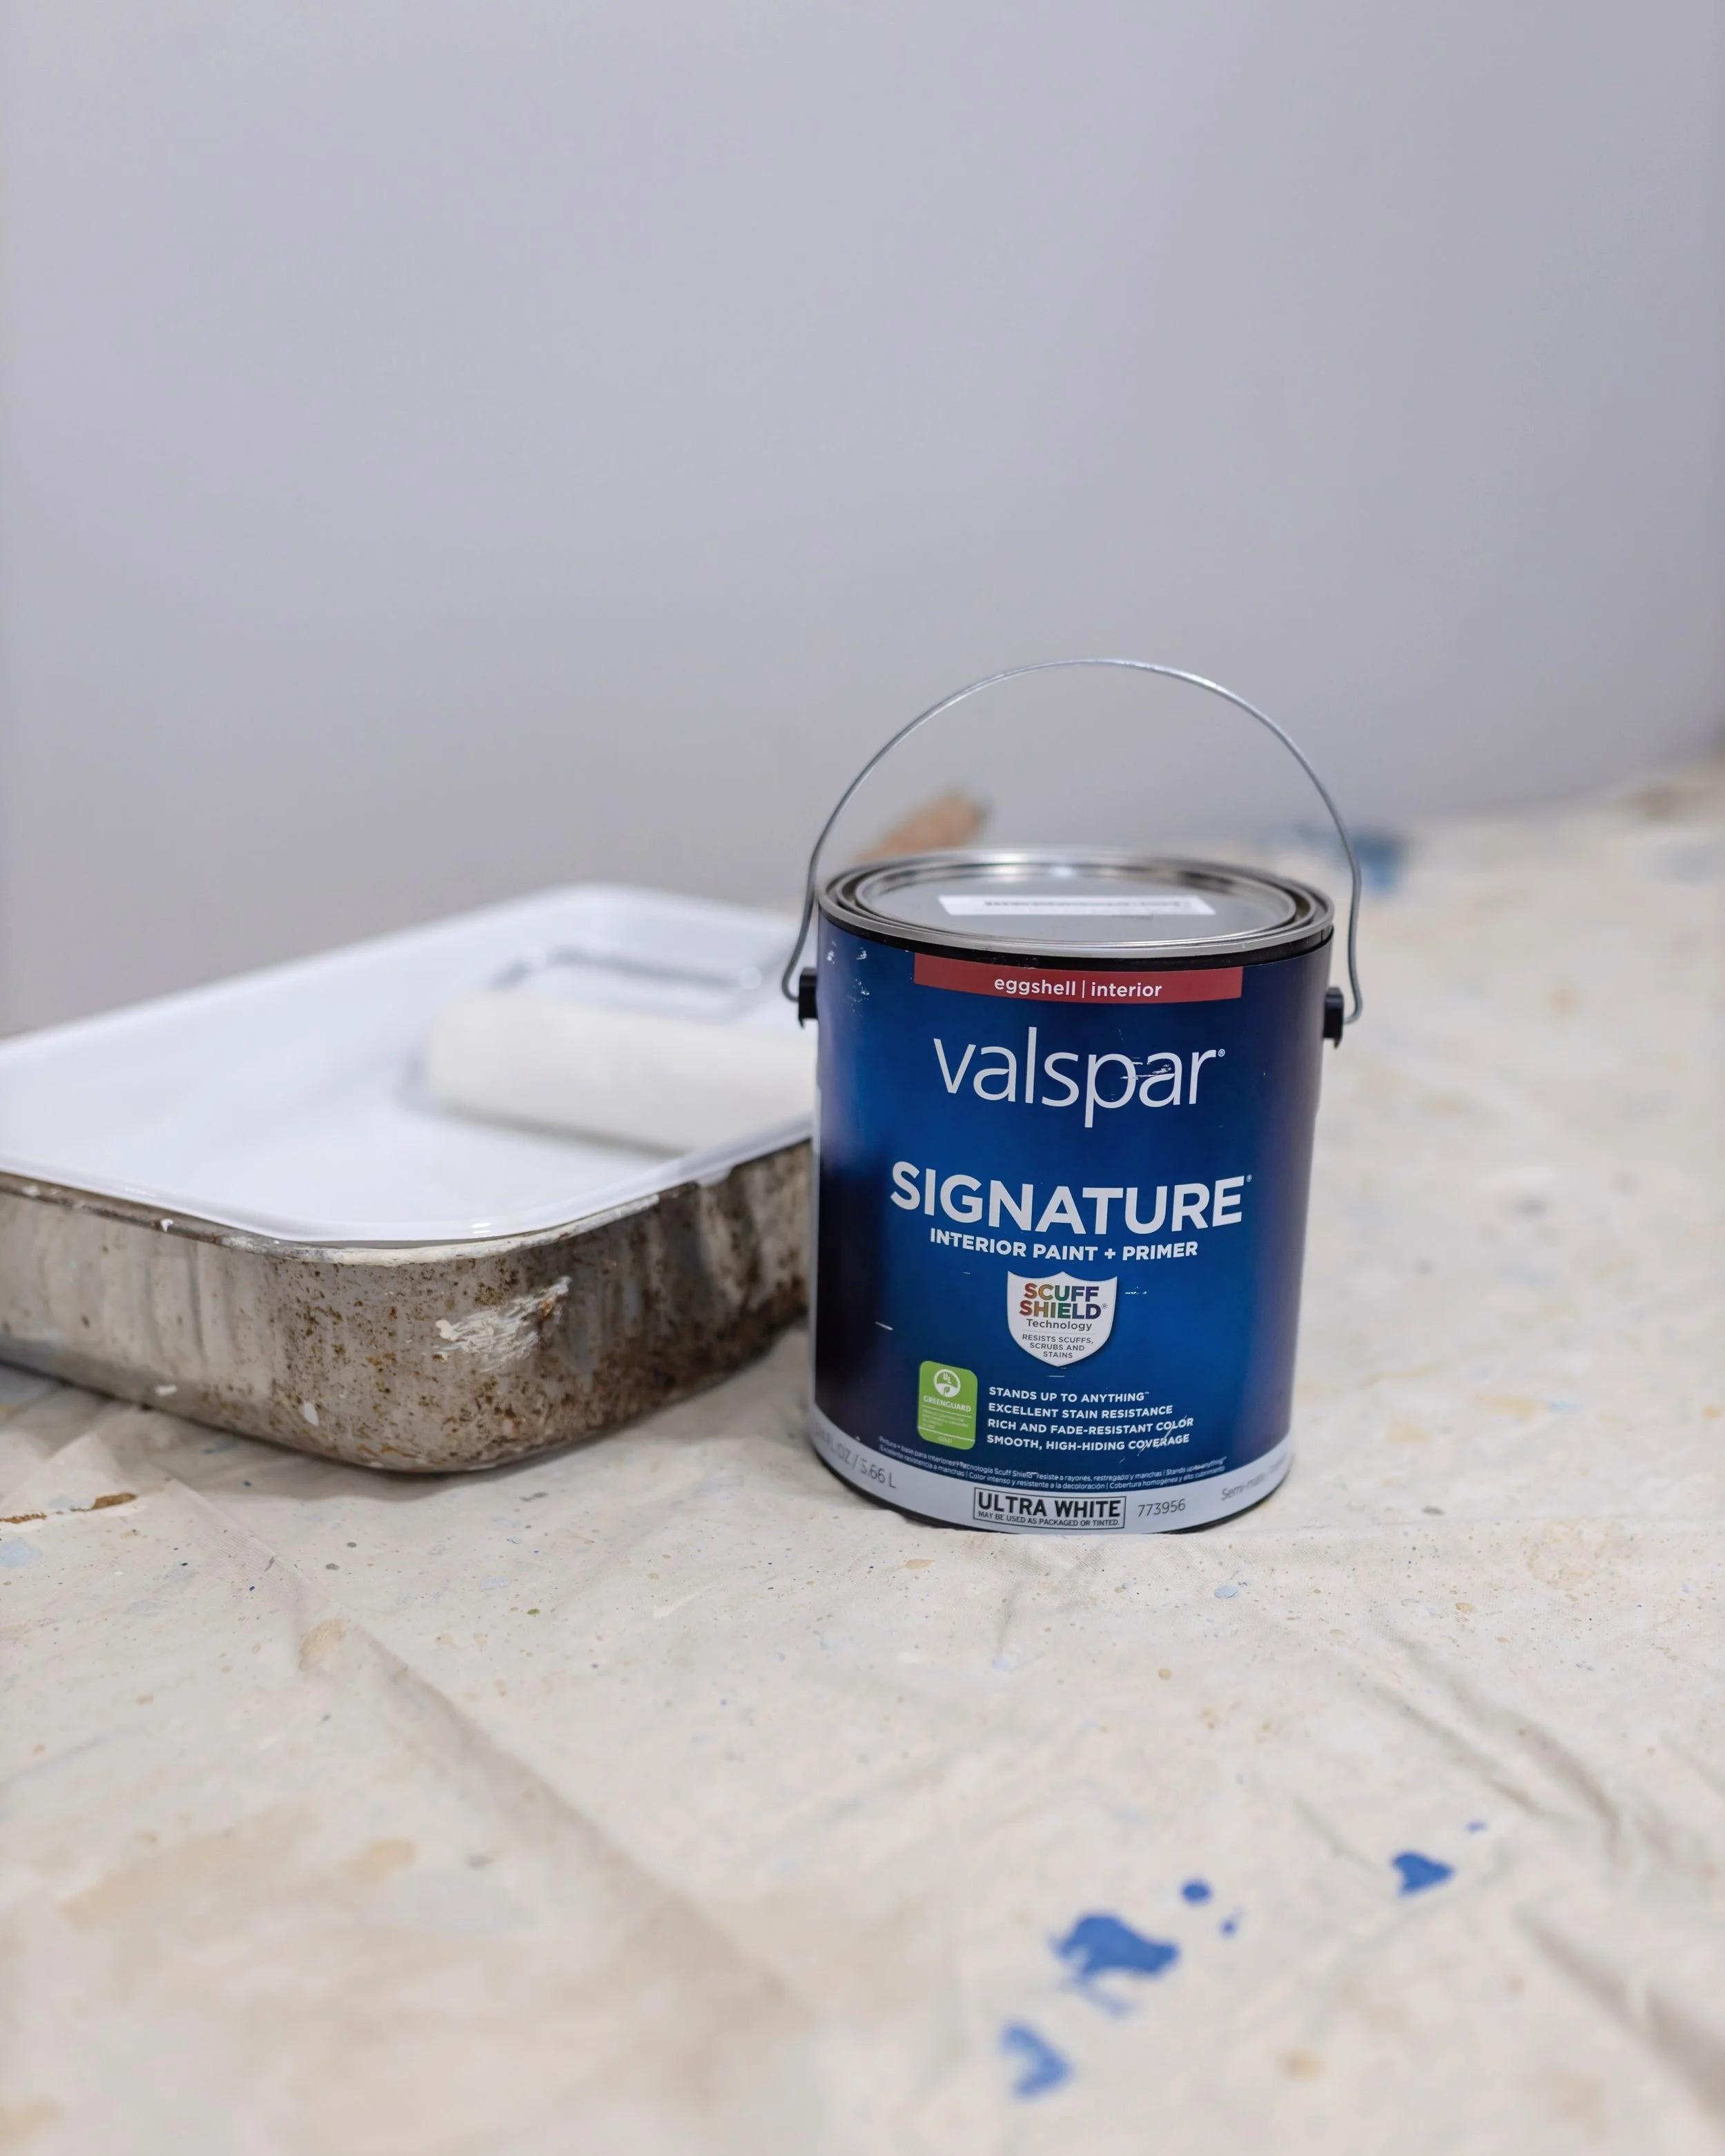
Paint Swatching


I have never known the importance of swatching paints until this project. I made a mistake twice with my living room and kitchen paint colors and was determined not to make it again. Ultimately, I went with Valspar’s Ultra White for the wall and Palisade Blue for the pantry door.
I picked up my paint swatches from Lowes Home Improvement store and used a foam brush to apply them to the wall. Allow the paint to dry completely and wait at least 24 hours before deciding on the color. This will allow seeing the color throughout the day.
Styling/Decor

small kitchen island with shelves
I wanted to keep everything neutral with the option to change things out for the seasons. Currently, I have it decorated for fall, and I love the way the colors flow together. {This post is waaaayyyy overdue.} I can’t wait to see how the space transforms over time.
Before and After

I still can’t believe I actually did this! You never know what a little hard work can turn into.
This is your sign to start that small DIY project you’ve wanted to do.