


Turning Our House Into A Home - Part 1: Vinyl Plank Floors
/Wow, this post is long overdue, but I finally wanted to share some house updates! I’ve decided to break it down into a series as we have done several things and it will be easier to follow along. As many of you know, we opted for a remodel instead of a new build. It just made sense with our financial goals and getting married at the time. The house needed a lot of work, but the pros outweighed our cons. Our goal has been to tackle a remodel for under $20,000 - by doing most of the repairs ourselves.
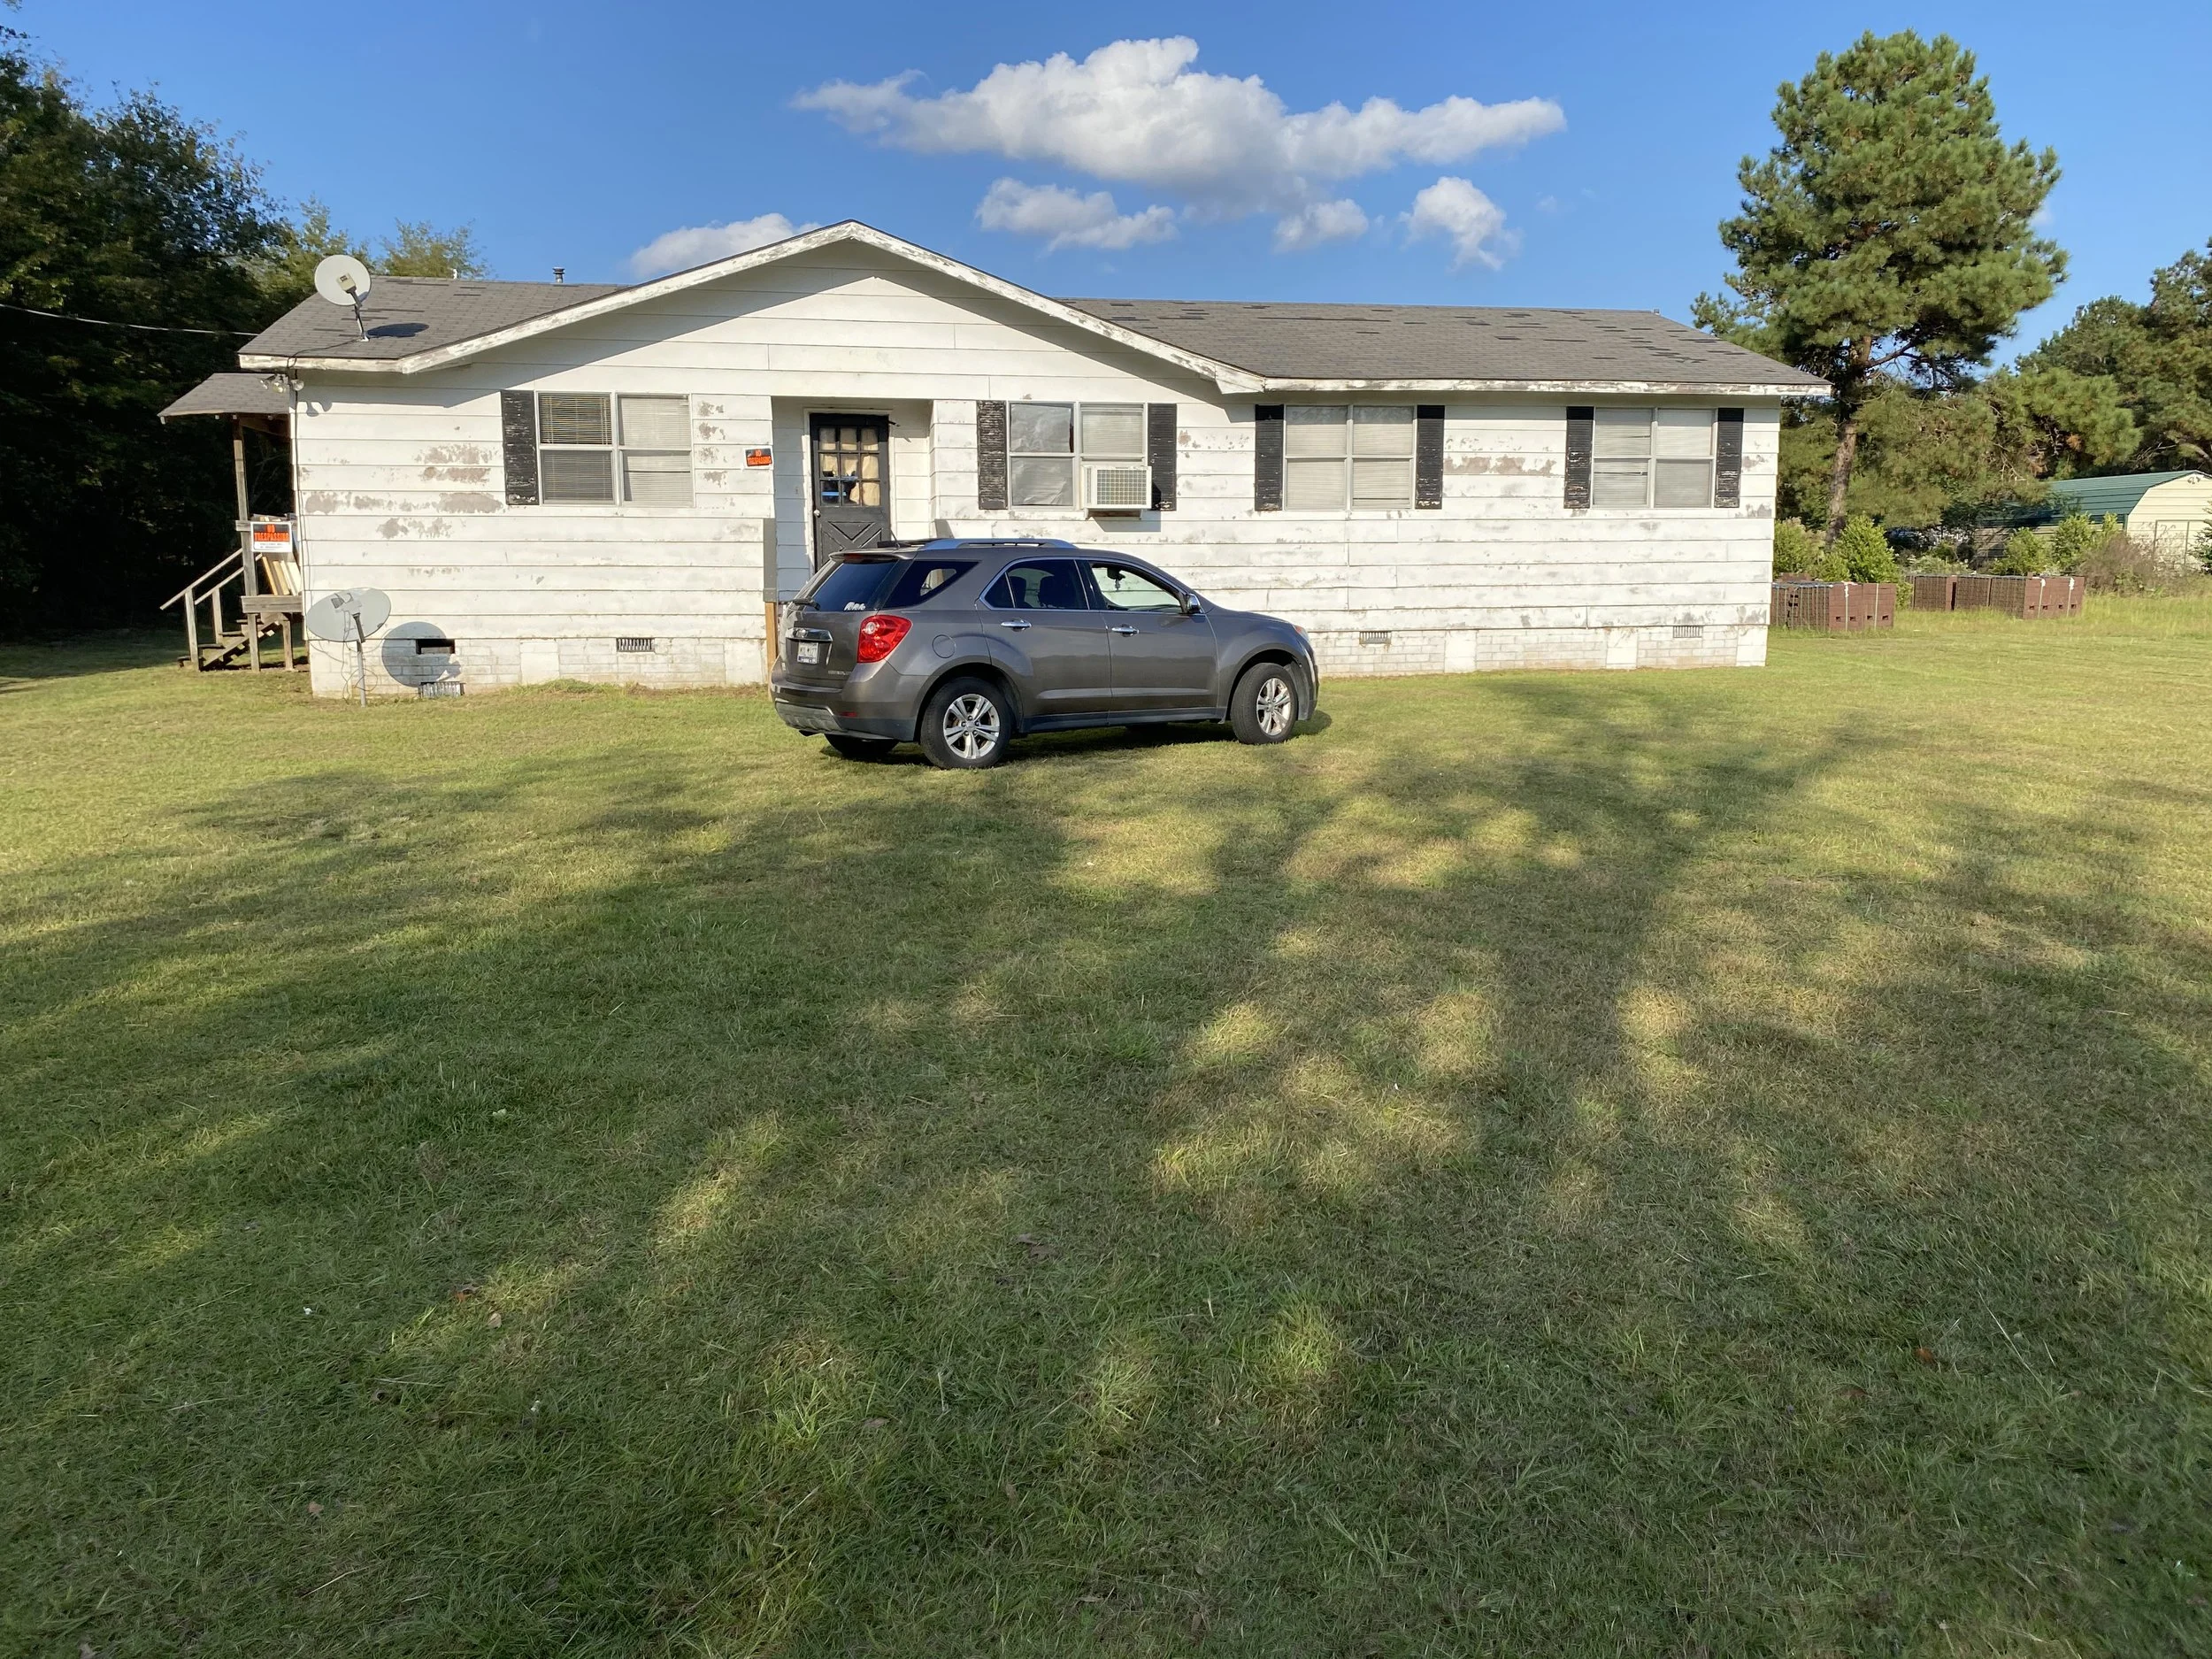
When we initially walked into the house, it was a literal nightmare, we almost second-guessed ourselves so many times, but we knew it could be done. With lots of love and hard work, we would start turning our little ranch-style home into one we would love forever. Our first major project was the floors.

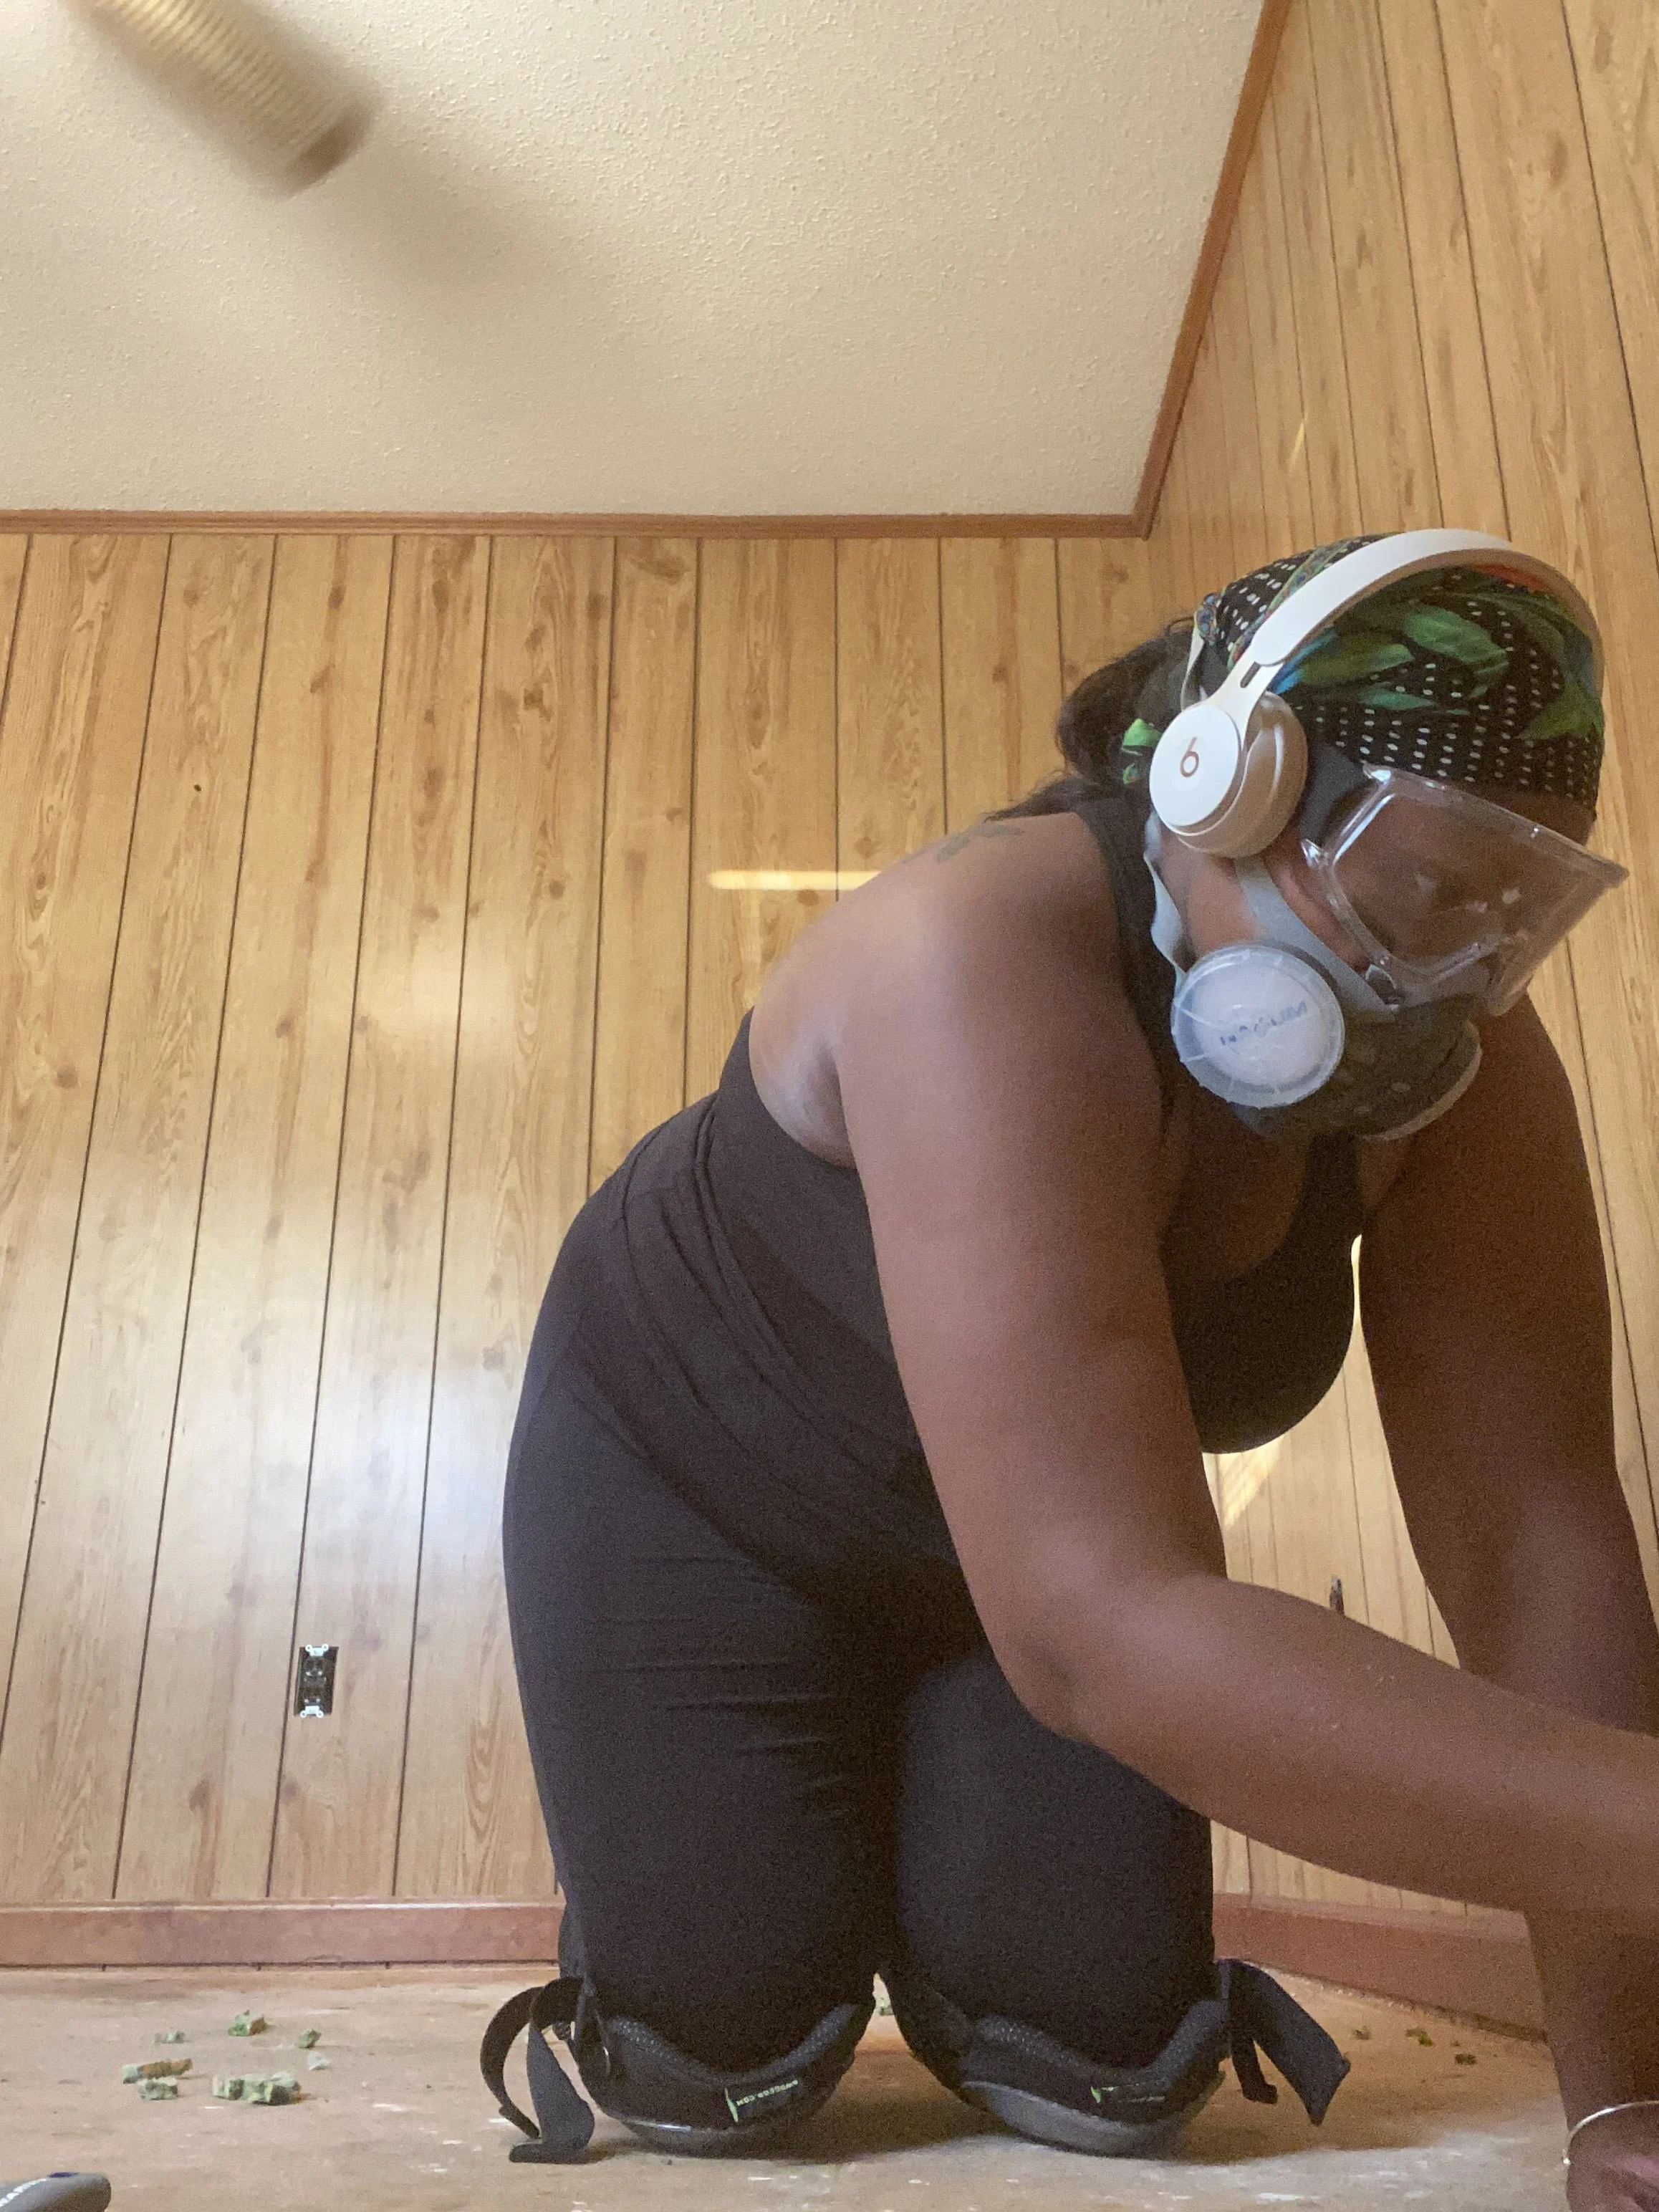
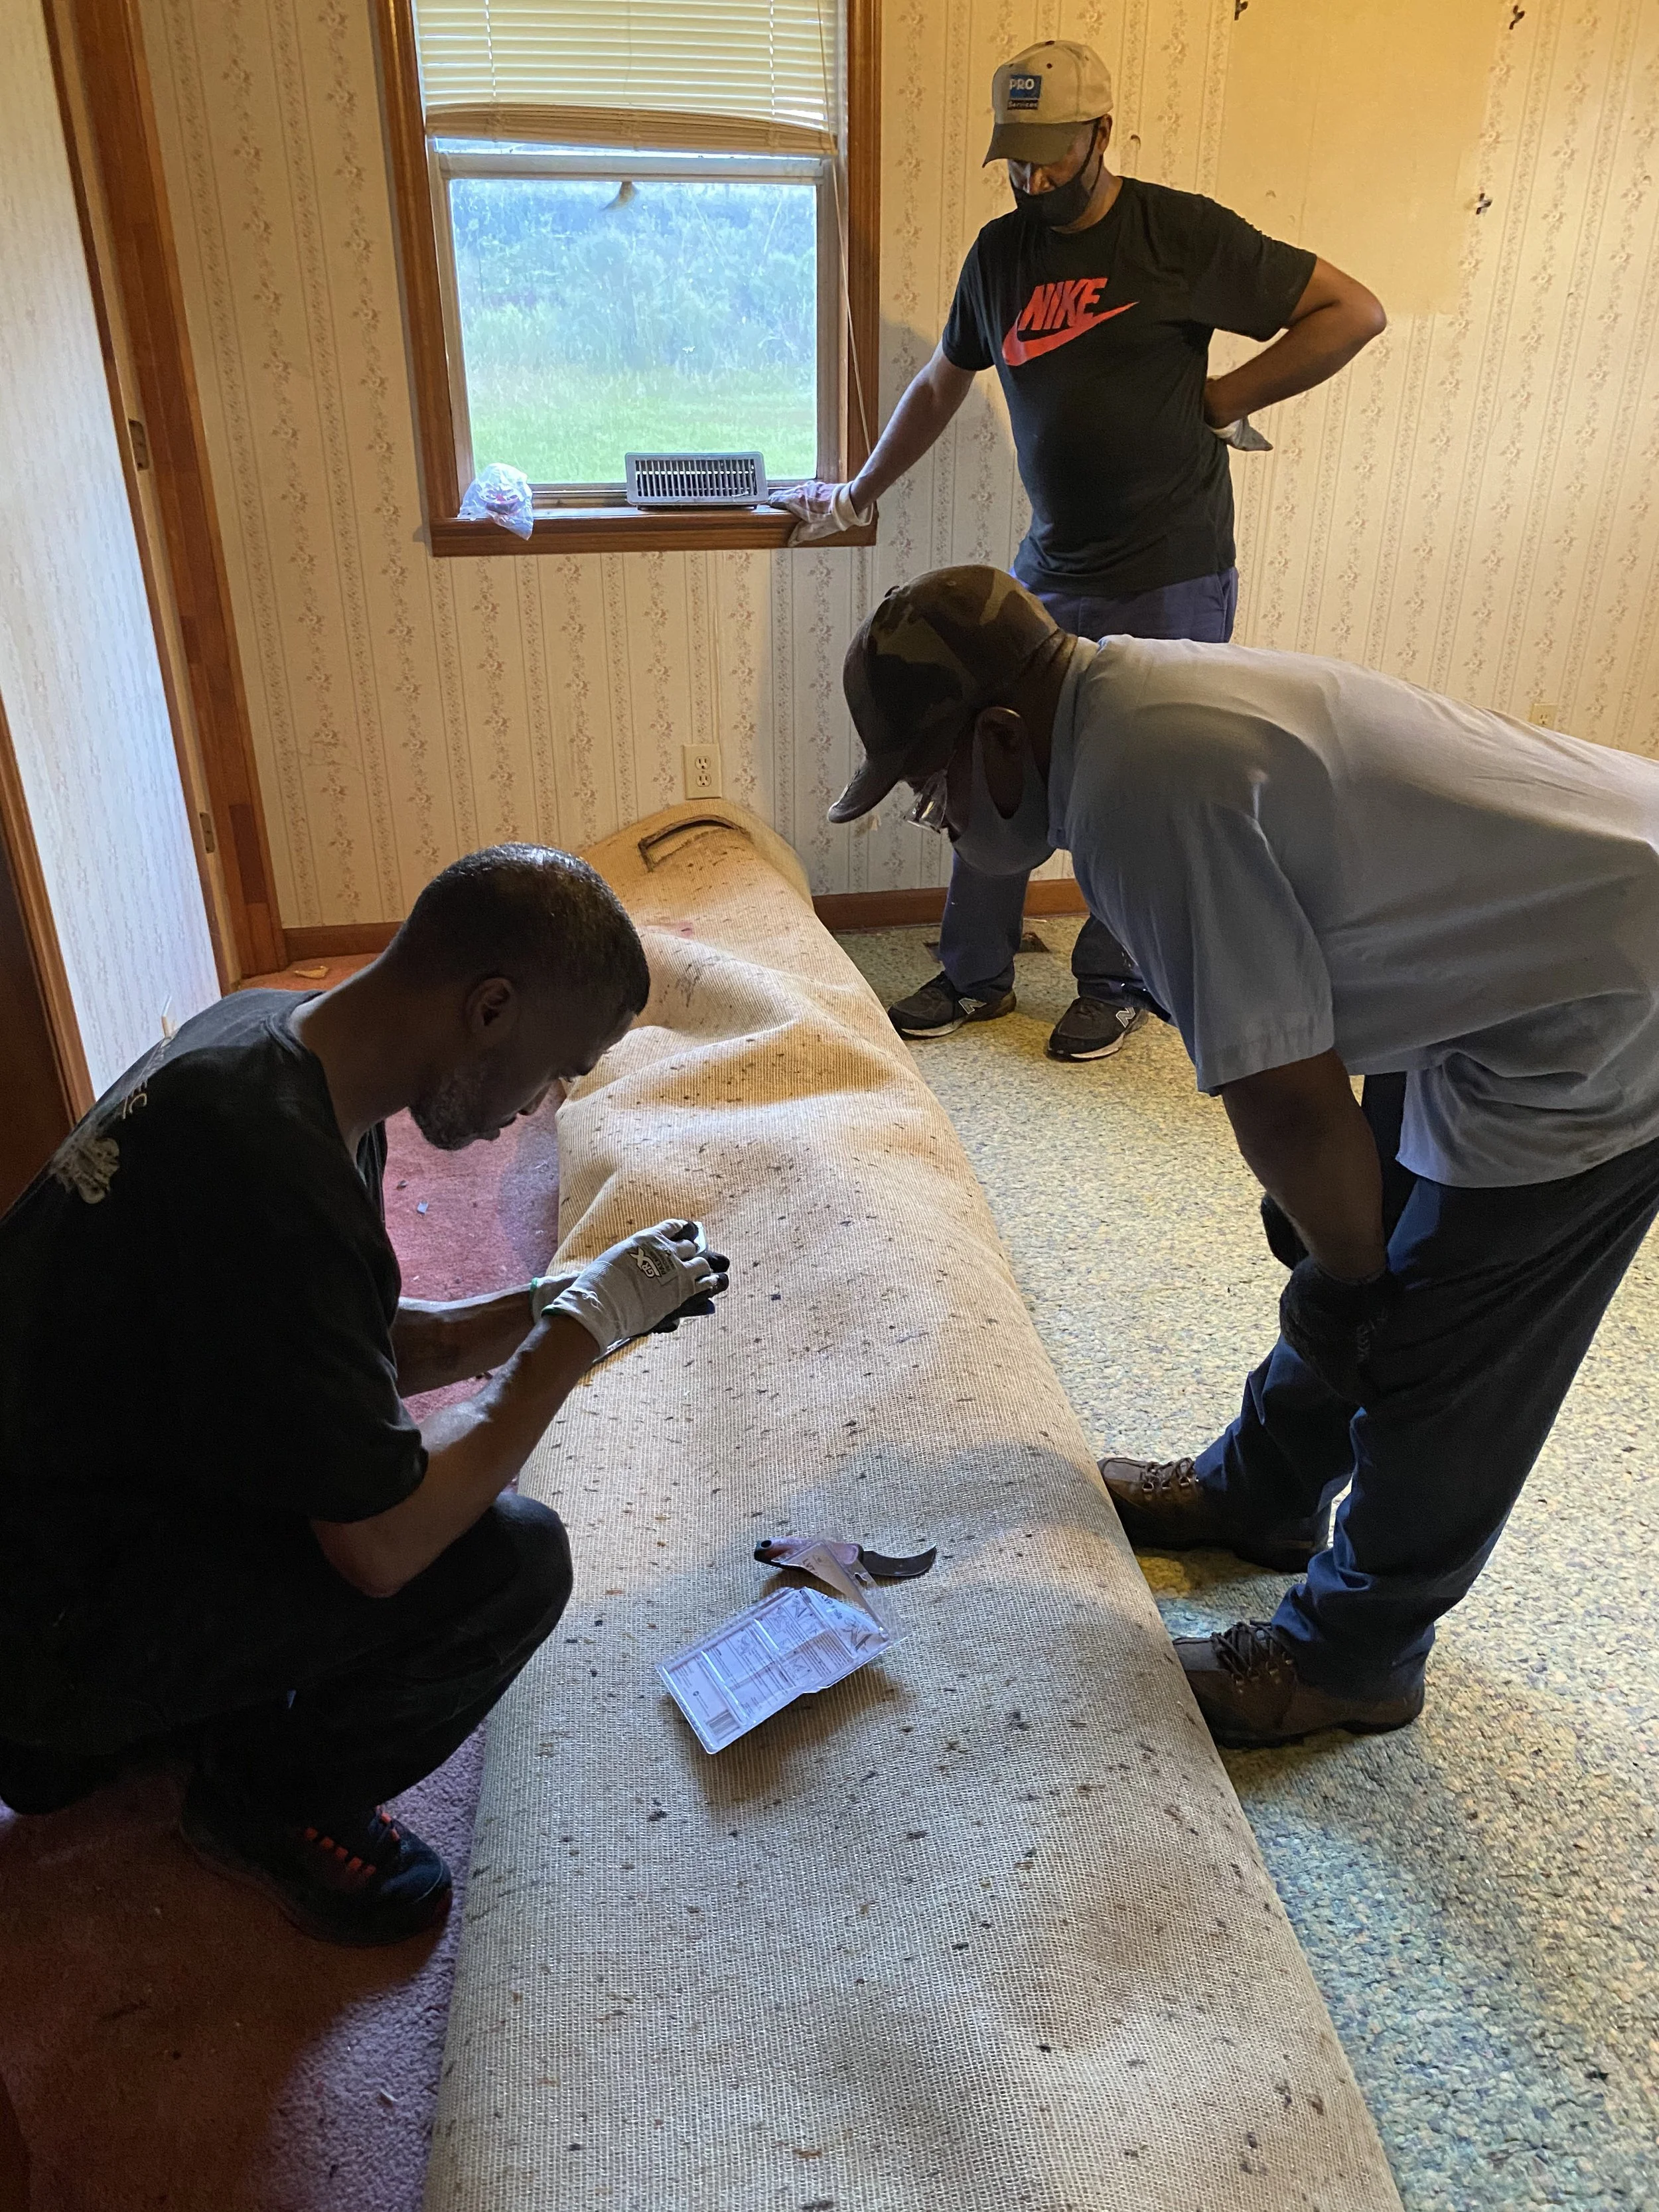
There was carpet in the home that had been there for over 20 years and needed to be removed. We rented a dumpster and got to work. When tackling a large home remodel project like this, I highly recommend renting one. We were able to rent a dumpster for $300 for a week and cleared all of the carpet and old materials left behind by the previous tenants.
After much debate, we decided to go with vinyl plank flooring throughout the home. Getting carpet would just be too messy and carry germs. However, we have found that the planks require tons of sweeping but are pretty easy to keep clean. We were able to find the best pricing on the flooring at bestlaminate.com - the prices were affordable and we spent $3,500 for a 1600sqft home. The color we chose was Vintage Oak White, it’s a very pretty light grey color and matched the clean look that I was going for.
We received several quotes to install the flooring, ranging from $4,000 - $8,000 and we were not interested in doing that. My husband and I have never installed flooring before but felt pretty confident after watching a few youtube videos. Thankfully, my husband has worked construction and knows his way around a few power tools, and had a general understanding. Otherwise, we might have been stuck.


Friendly Tip: I highly recommend tackling a small space before attempting such a large project as we did.
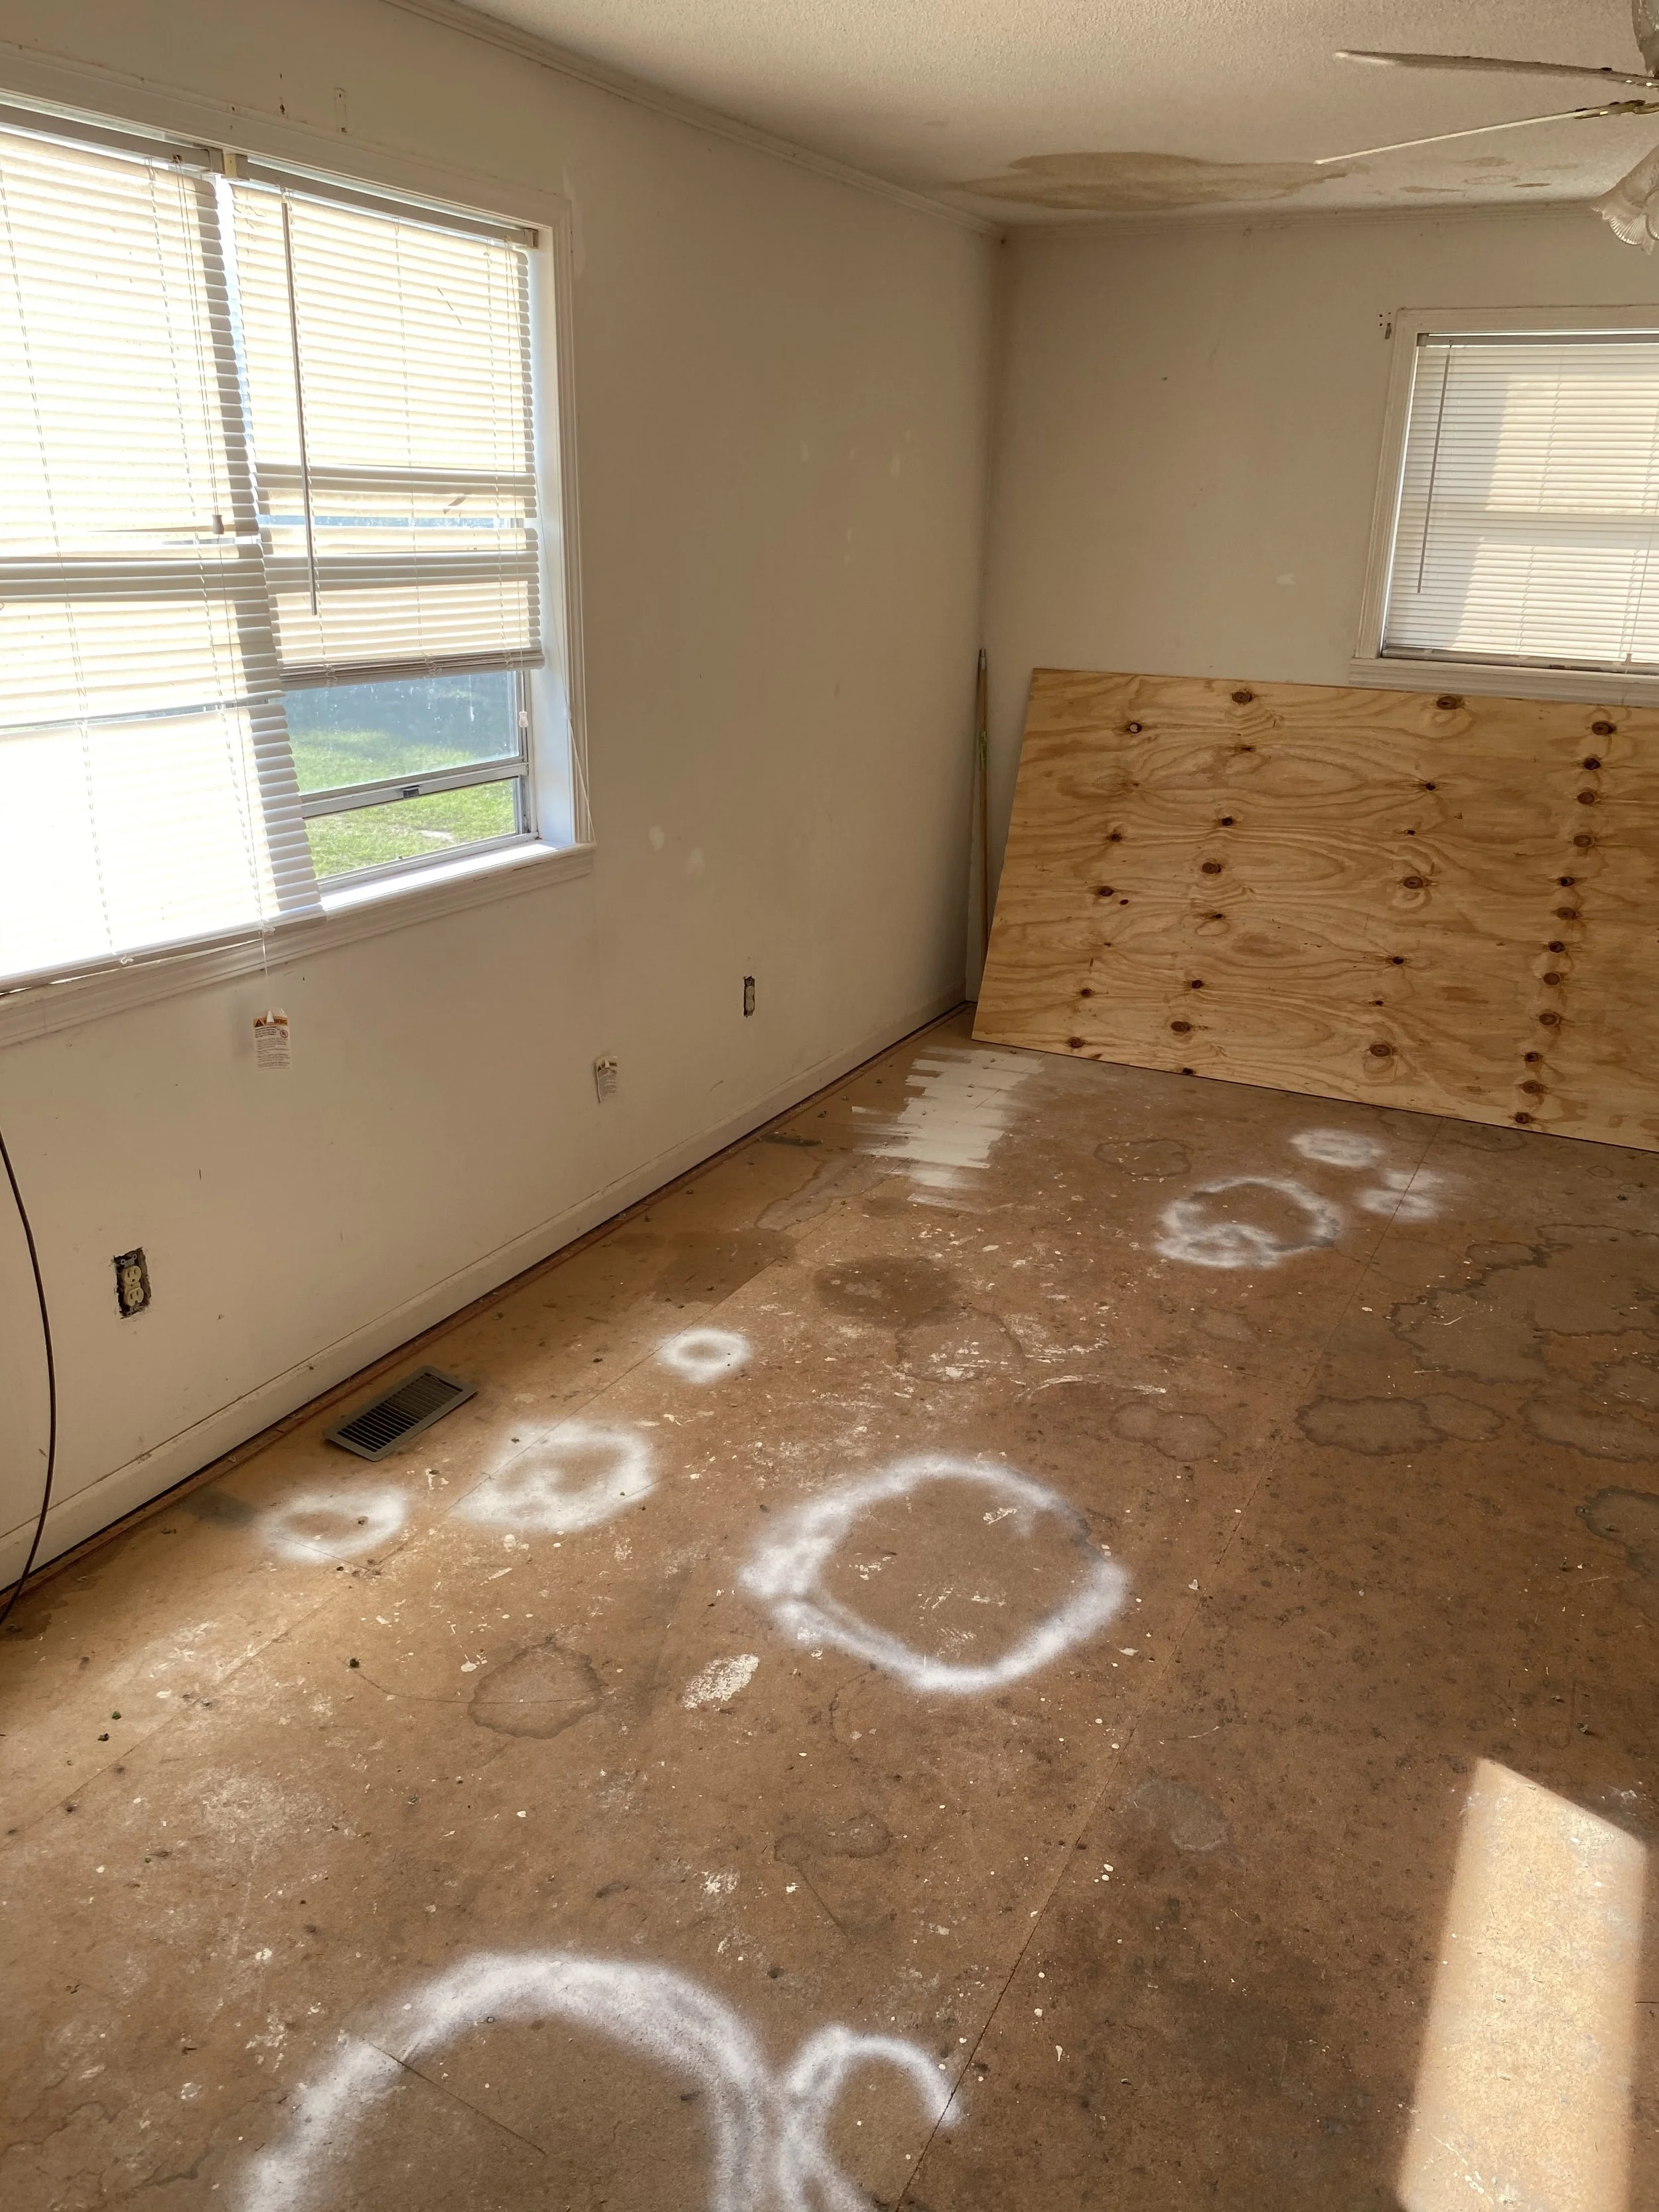
After removing the carpet, we had to inspect and repair the subfloor. There was a lot of damage and we were able to repair some spots by using Kilz and others where we needed to completely install a new subfloor to level out the area. We also painted the subfloors that we didn’t replace with an oil-based primer to remove the odor.
Our floors used a beginner-friendly locking system; slide and lock into place. We didn’t have to use a lot of power tools but we did find the Vinyl Floor Cutter to be incredibly helpful. I was able to cut the planks and determine the design while my husband laid out the pieces. It allowed us to work quicker and smarter. Some videos will say to use a box cutter and snap them - while you can do this it’s time-consuming.
We also opted to remove our baseboards and replace them after the flooring was complete instead of using the quarter rounds.
Overall, we are happy with the way our floors have turned out. We learned along the way and realized how we could have done things differently, and better. Currently, we have a few repairs to make only due to our lack of knowledge but it’s been over a year and the floors look amazing!